
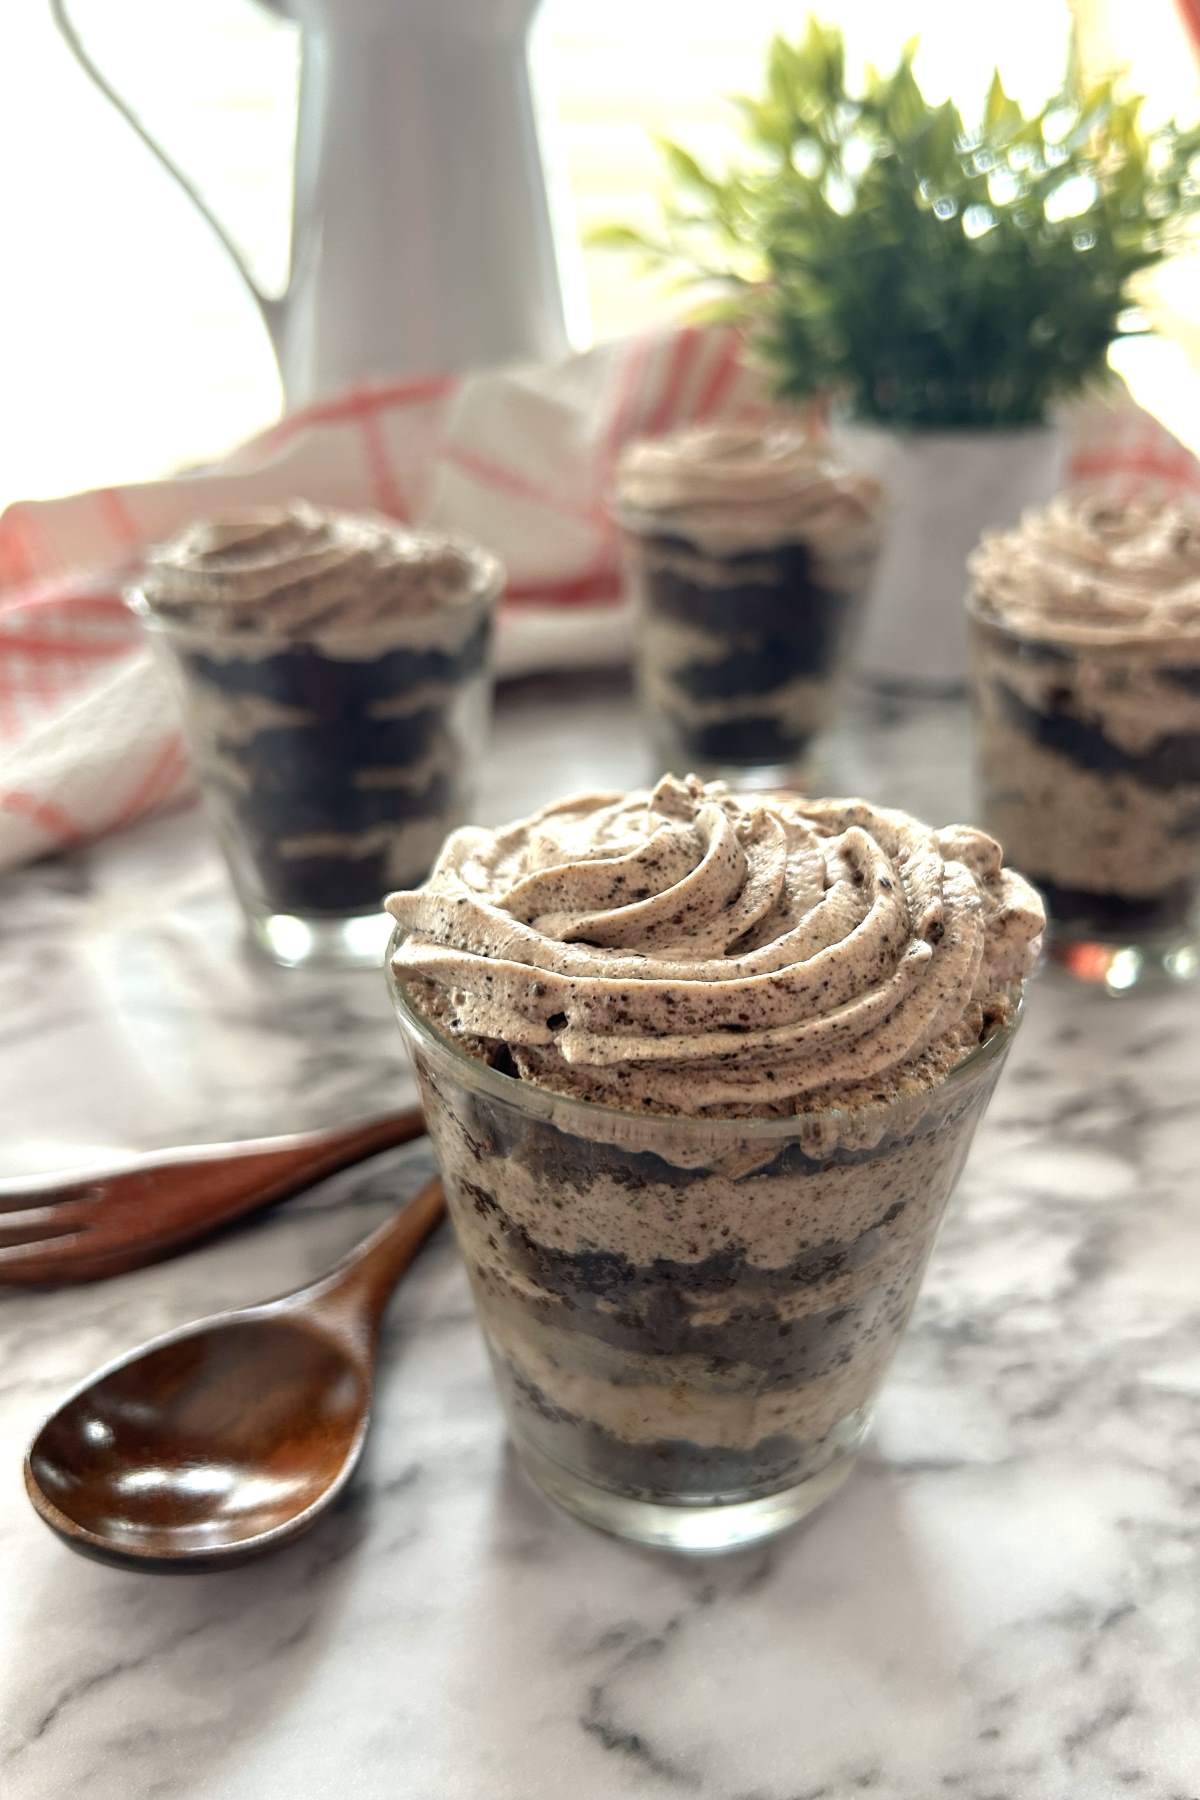
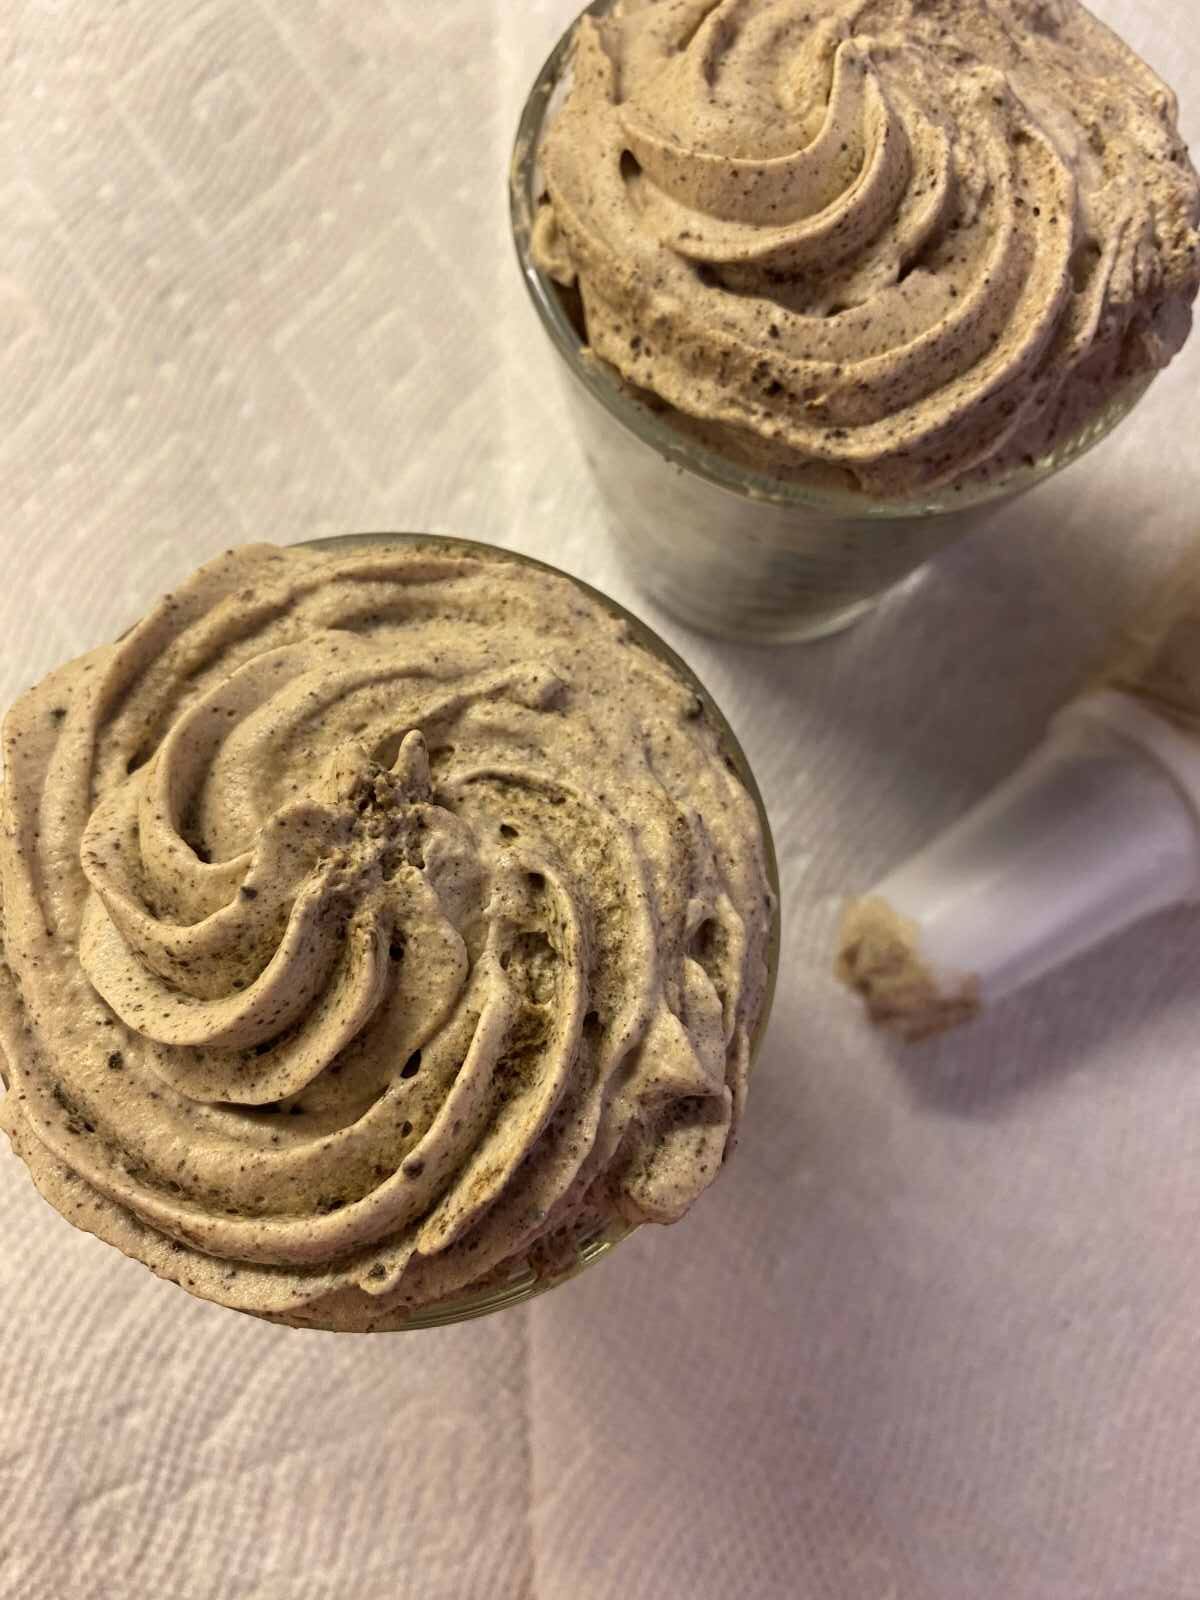
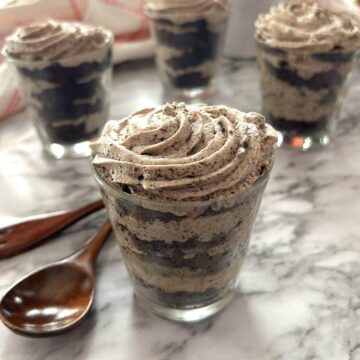
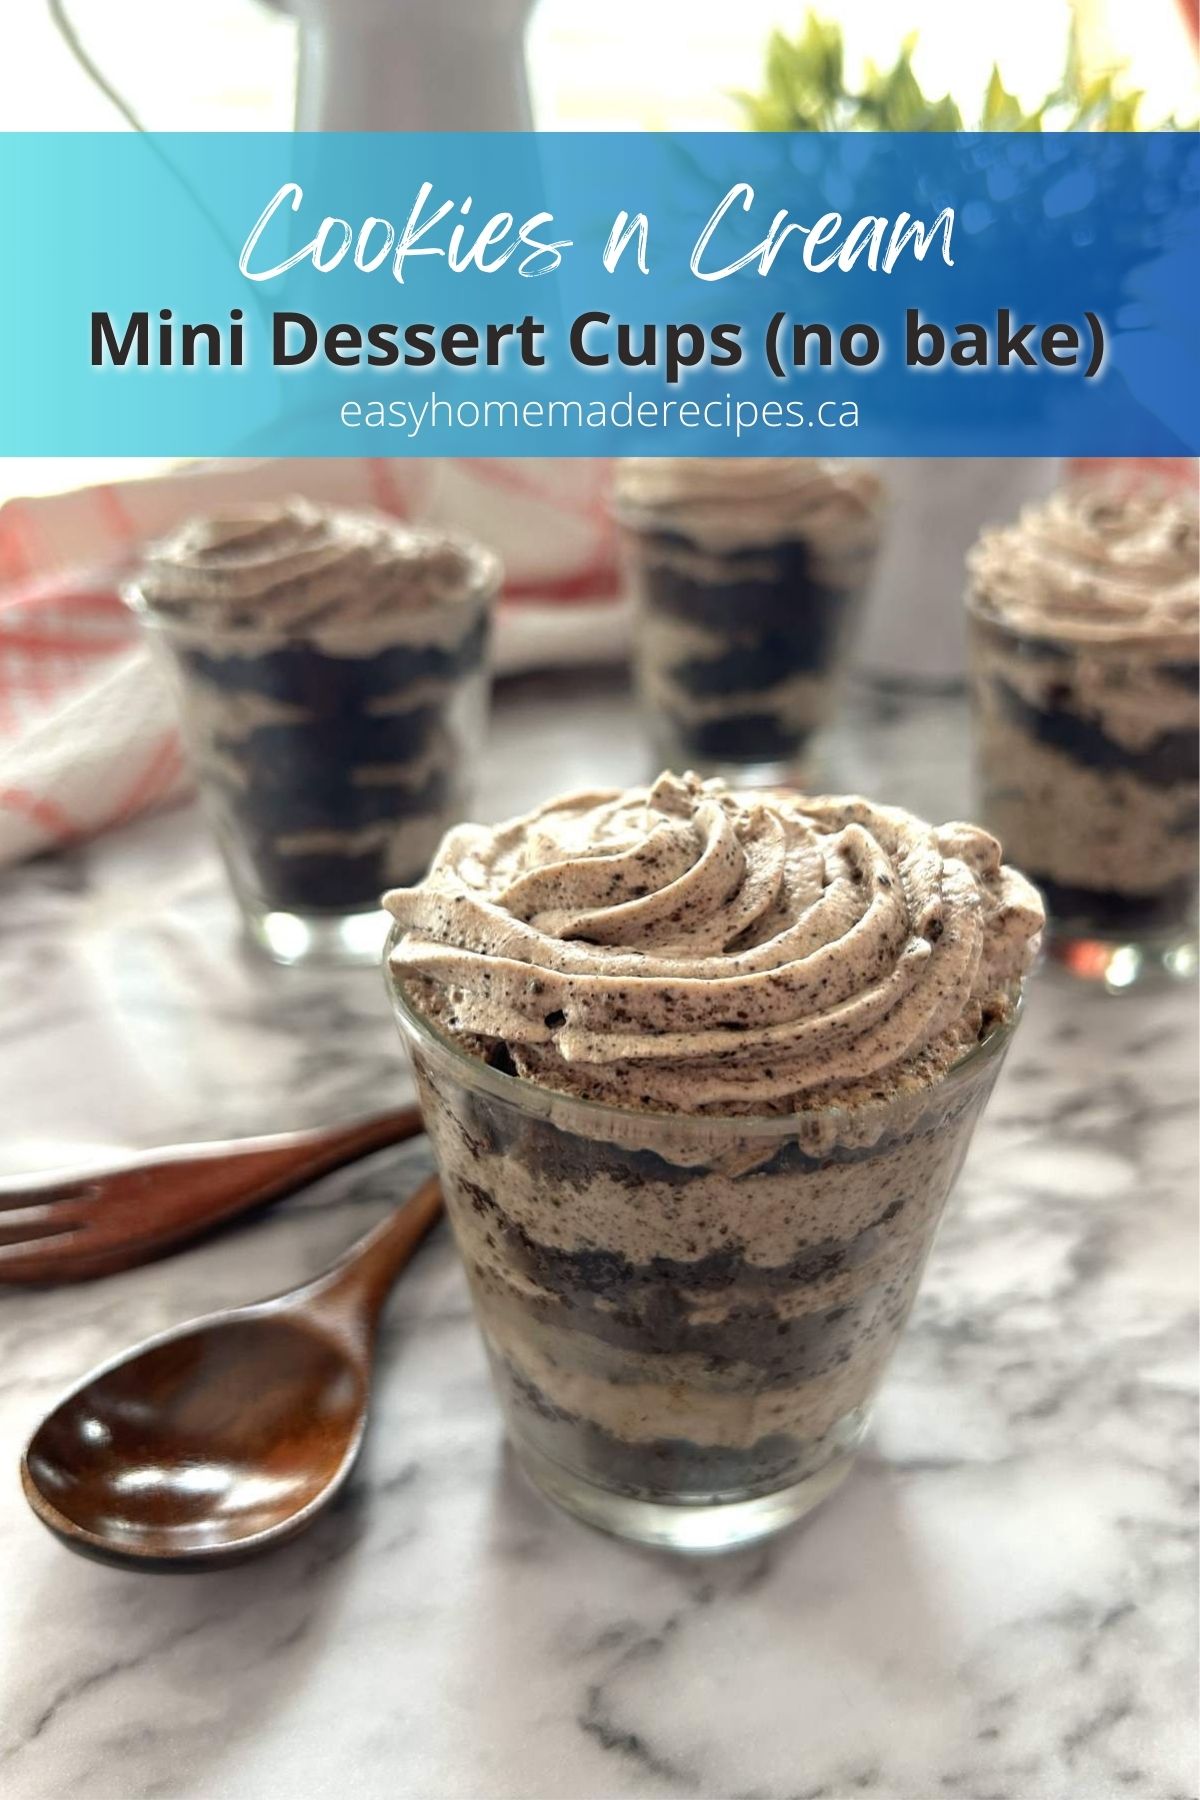
Indulge in the irresistible world of no-bake Chocolate Mini Desserts, crafted with layers of chocolate cake and cream cheese frosting.
These chocolate mini desserts require no oven time and can be assembled with ease, making them perfect for those craving a quick and simple easy to make dessert.
For other recipe combinations see White Chocolate Raspberry Mini Desserts, Birthday Cake Mini Dessert Cups, or Mini Tiramisu Dessert Cups.
Jump to:
- Here's Why You'll Love this Recipe
- Occasions to Serve Mini Chocolate Dessert Cups
- Ingredients
- How to Make Chocolate Mini Desserts
- No Bake Mini Dessert Prep and Assembly
- Storage
- Top tip
- Possible Variations and Substitutions
- Equipment
- Answers to Commonly Asked Questions
- Other Dessert Recipes
- Recipe Details
- Top tip
- PIN It Here
- Food Safety
- Comments
Here's Why You'll Love this Recipe
There's nothing like chocolate cake layered with cream cheese frosting and here's why:
- Versatile: you can substitute vanilla cake and add fruit or any other combination of flavors to make mini dessert cups
- Easy to Make: great dessert for the non-baker or children
- Nut Free and Egg Free - making it allergy friendly
- Single Serve Cups: means the servings are already defined and if served in recyclable cups makes for easy clean up.
This recipe for mini cookies and cream dessert cups was inspired by the holidays. Choosing a dessert that everyone likes can be stressful and challenging. That's what makes this mini dessert perfect as you can customize the flavors.
This page contains affiliate links, which means I may receive commissions if you choose to purchase through links I provide (at no extra cost to you). Thank you for supporting the work I put into this site! As an Amazon Associate I earn from qualifying purchases.
Occasions to Serve Mini Chocolate Dessert Cups
Cookies and Cream dessert cups are similar to mini chocolate trifle cups and are perfect single serve desserts for:
- Family get togethers
- Bridal Showers
- Birthday Parties
- Dinner Parties
Make cleanup easy, by making no bake mini dessert cups in 5oz recyclable cups.
Ingredients
You will need the following ingredients to make these mini chocolate trifles in a cup: chocolate wafer crumbs, a chocolate loaf cake, sugar, heavy whipping cream, cream cheese, vanilla extract.
Chocolate Wafer Crumbs - bring a chocolate indulgence to the heavy cream.
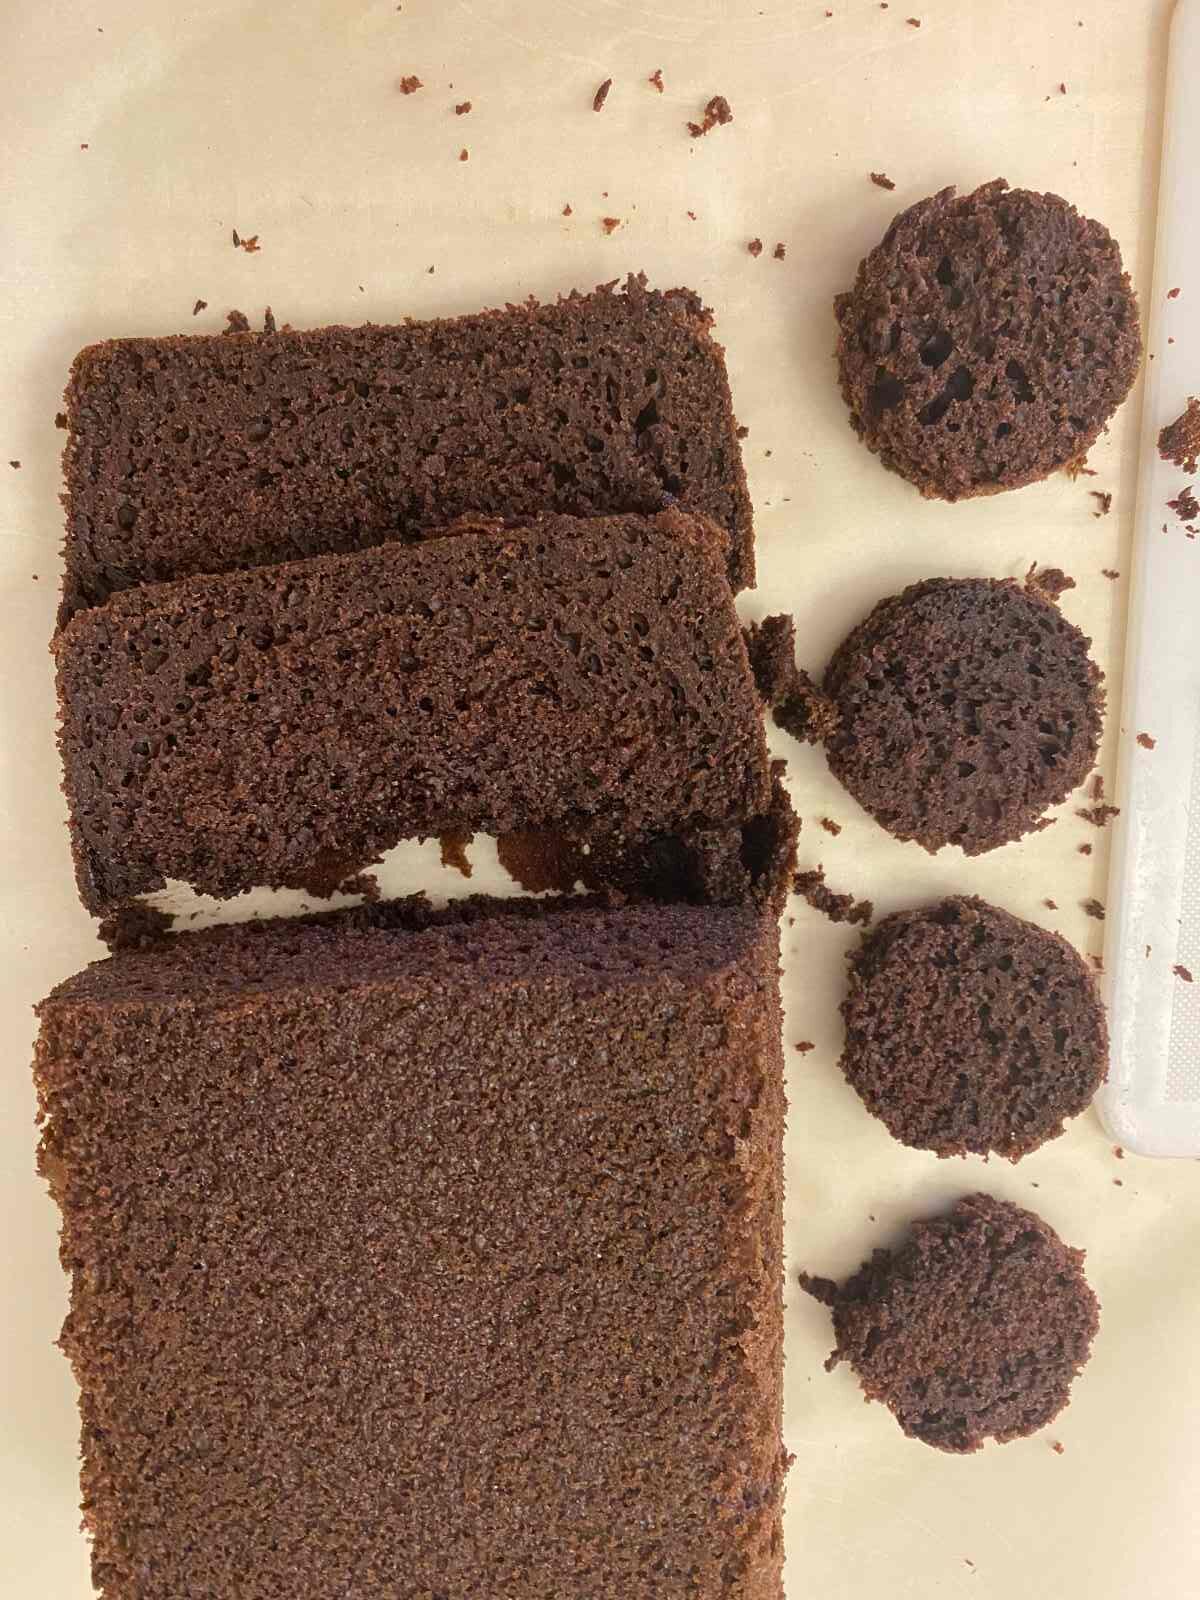
Pre-made Chocolate Loaf Cake - are used to create the cookie layers and add spongey texture to the dessert cups.
Heavy Whipping Cream - is used to create a fluffy filling between the chocolate cake layers of the mini chocolate dessert.
Cream Cheese - brings a rich tartness to the heavy cream, much like a cheesecake texture
Vanilla Extract - adds a boost of flavor.
See recipe card for details and quantities.
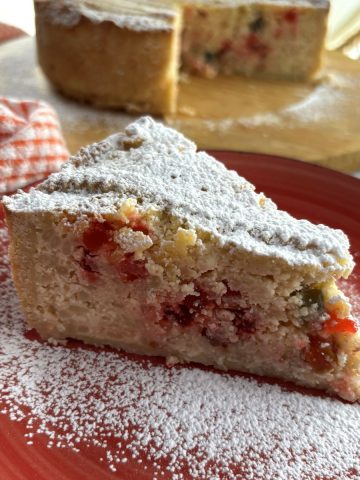
You can also make this absolutely delicious Chocolate Beet Cake or these chocolate covered Oreo Cookies.
If you are looking for a an easy cake to make that will wow your guests, try this Strawberry Dream Sfoglia Cake made with store bought puff pastry or this easy Mille Feuille.
How to Make Chocolate Mini Desserts
In the bowl of a stand mixer, mix the cream cheese and powdered sugar until light and fluffy.
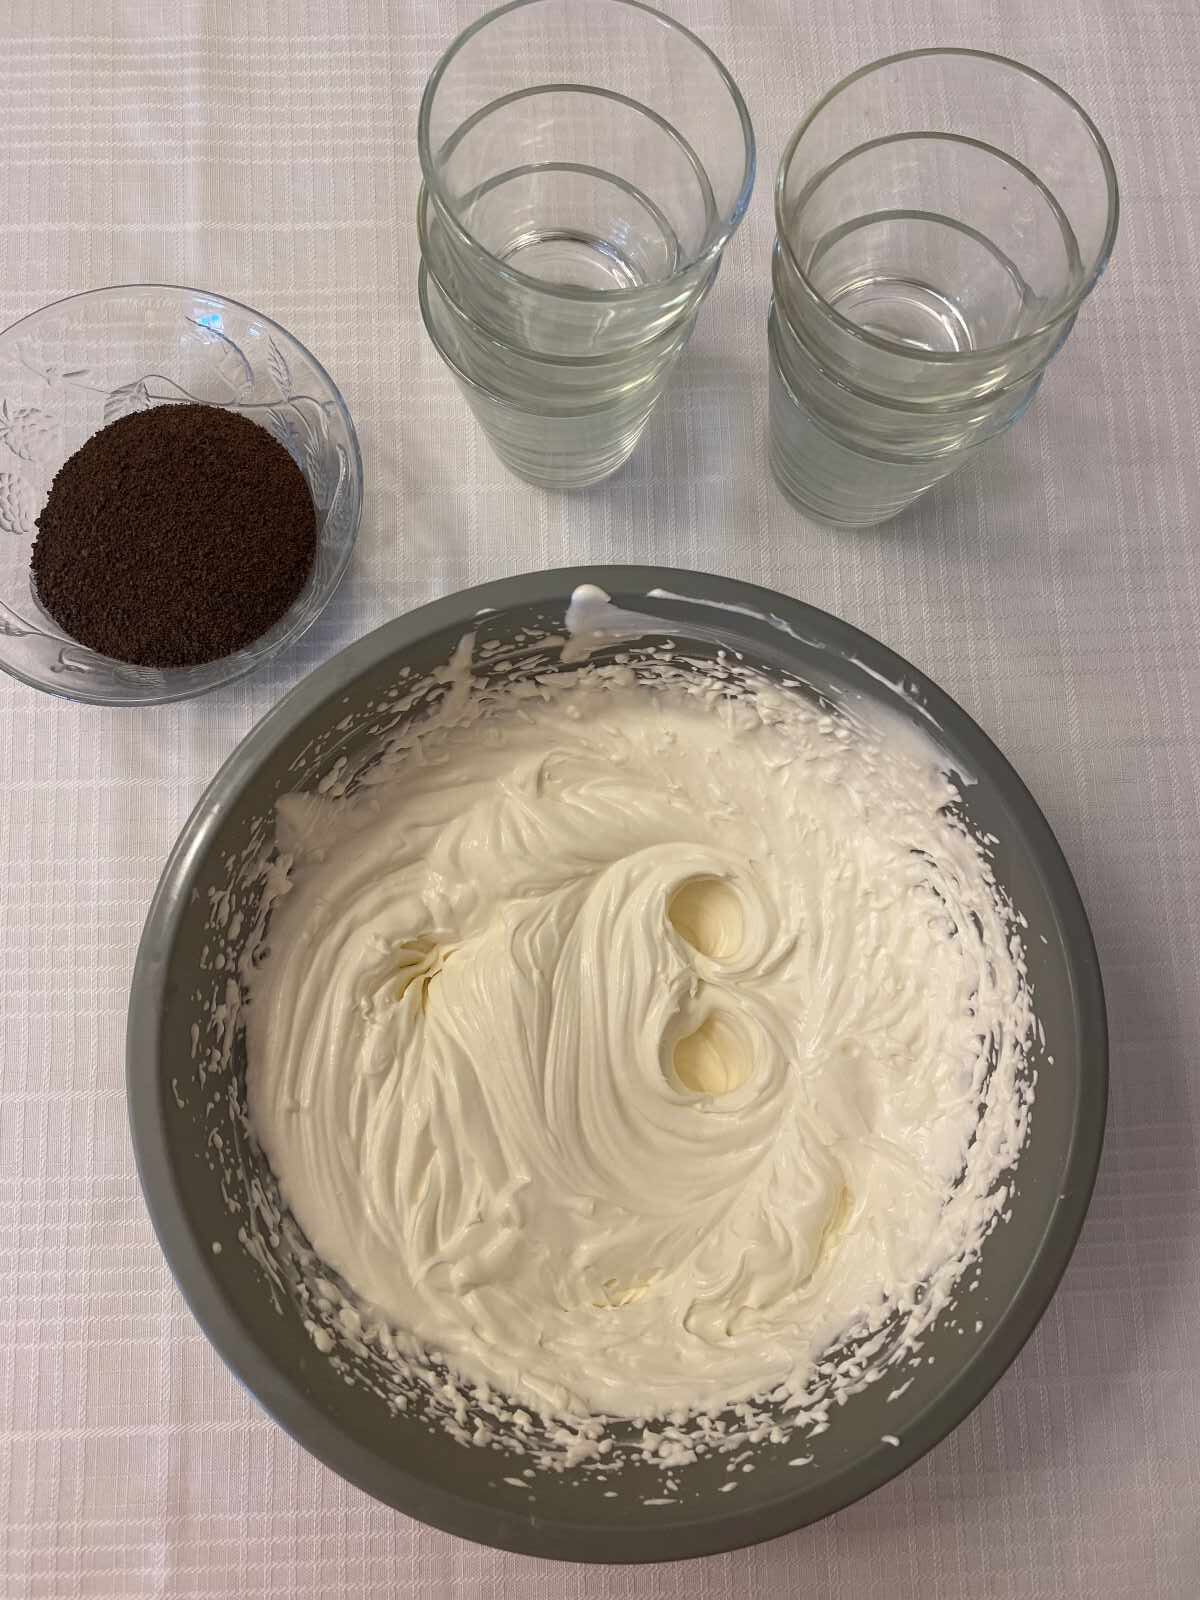
Add the heavy cream slowly down the side of the bowl.
Scrape the bowl. Mix on medium high until stiff and fluffy. Add chocolate wafer crumbs and mix lightly with the mixer or use a spatula. Do not over mix. Place in the refrigerator until you are ready to assemble the mini desserts.
No Bake Mini Dessert Prep and Assembly
Once you have the whipped cream cheese frosting, it's time to assemble the mini desserts.
You don't need to cut circular shapes to fit inside the glass. square shapes fit better because it fills the diameter nice and snug. You can use cake pieces too, just make sure that you are using enough cake to separate each layer to define a cream layer and cake layer.
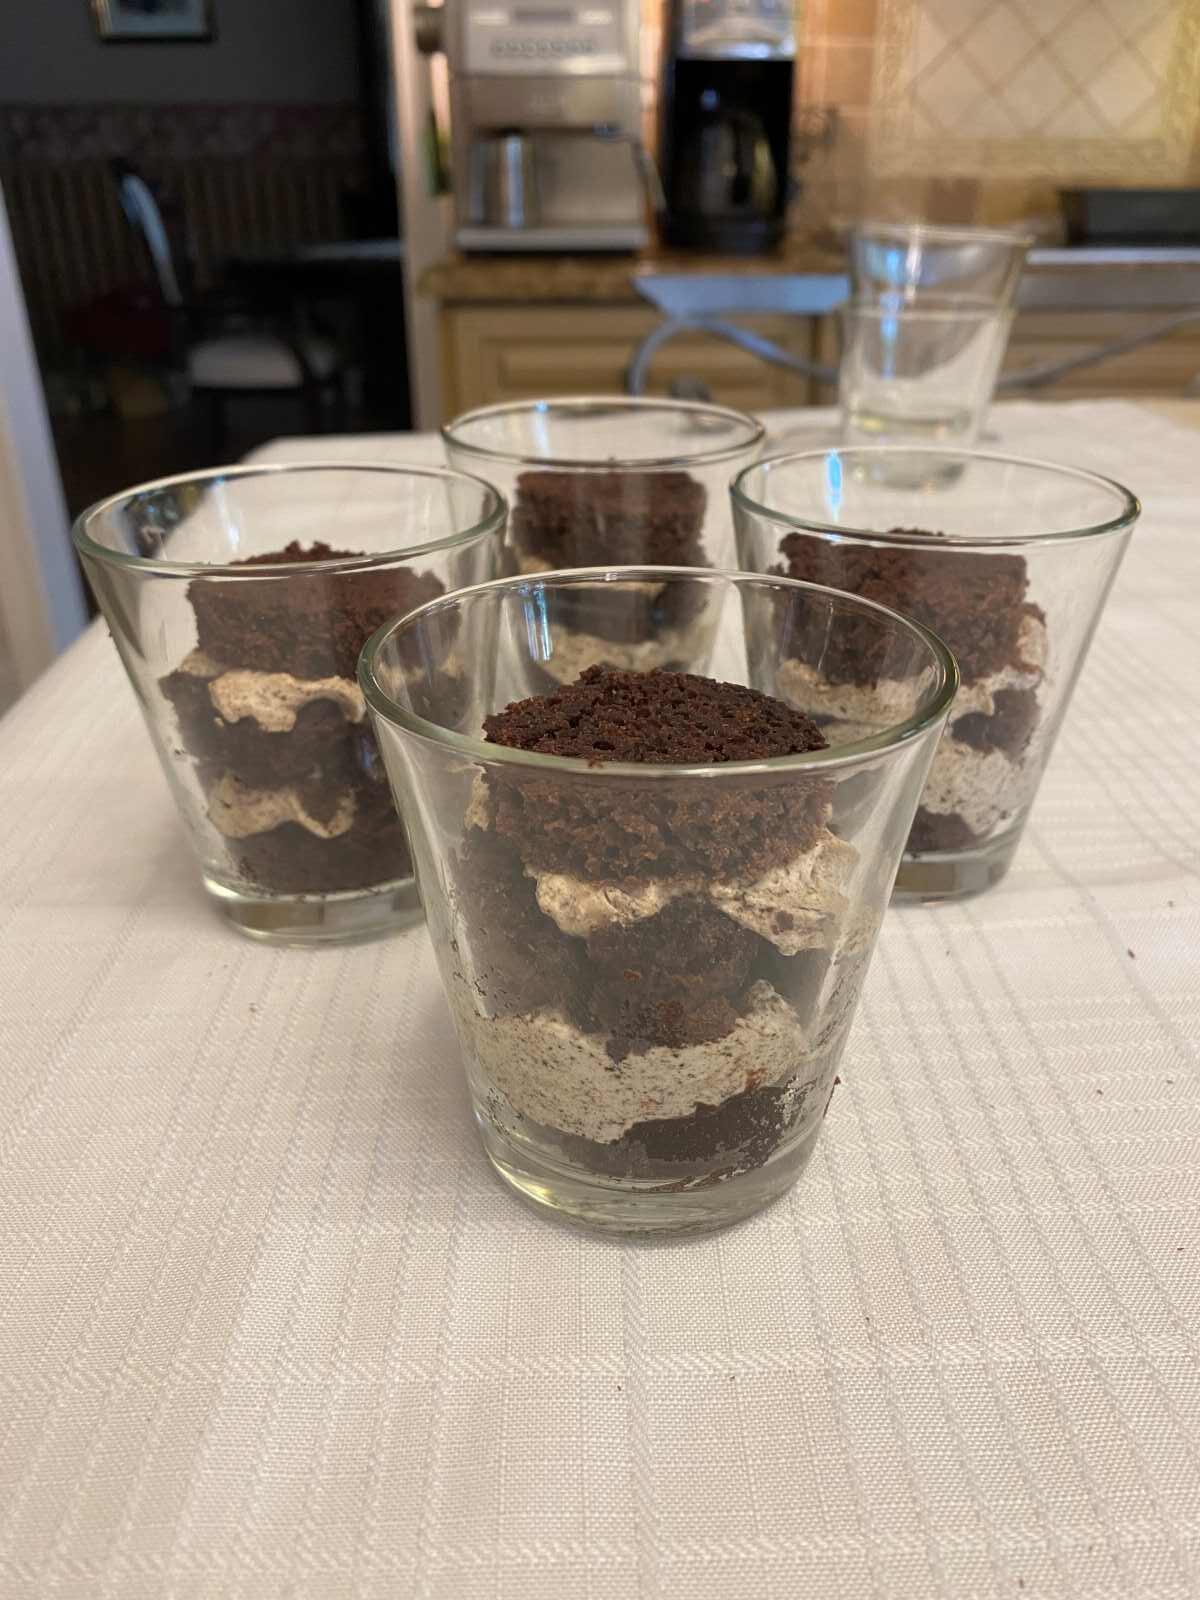
Start by placing cake in the bottom of a cup. Top with whipped cream cheese frosting.
Repeat these step 3 and top your mini dessert with more cream cheese frosting.
Keep refrigerated until you are ready to serve.
Storage
As you assemble the mini dessert cups place them in an 8" round cake pan for easy transport from the counter to the fridge. These mini desserts can be stored in the refrigerator for 3 to 4 days.
It's not recommended that you leave these desserts out for more than one hour as they use whipped cream which can spoil very quickly.
I've never frozen these mini desserts and can't recommend doing so.
Top tip
Before making your whipped cream cheese frosting, place your mixing bowl and attachment in the freezer. Leave it in the freezer for 5 minutes.
Make cleanup easy by using 5 oz recyclable plastic dessert cups.
Hint: square chocolate cake pieces work better because they hug the sides of the glass creating a distinct layer, separated from the cream cheese frosting.
Possible Variations and Substitutions
This no bake mini dessert idea is great because you can make so many variations with just one or two loaf cakes.
- Raspberry White Chocolate Mini Dessert Cups - substitute the chocolate loaf cake with a vanilla loaf cake and raspberries for Raspberry and White Chocolate Mini dessert cups
- Birthday Cake Mini Dessert Cups - substitute the chocolate sandwich cookies for sprinkles and candy covered chocolate
- Tiramisu Mini Dessert Cups - substitute the chocolate sandwich cookies for chocolate sandwich cookies and add cocoa powder to you cake batter to make chocolate cake
- Lemon Curd Mini Dessert Cups - substitute the chocolate sandwich cookies for lemon curd/custard
- Apple Crisp Mini Dessert Cups - substitute the chocolate sandwich cookies for apple crisp/cobbler
- Gluten Free - use gluten free cake to make your dessert gluten free.
- Dairy Free - use dairy free whipped topping to make your dessert dairy free.
If you have another idea or combination, try it out! Let me know in the comments how it turns out.
Equipment
Equipment has a big impact on how a recipe turns out. For this recipe you will need a stand mixer or a hand mixer. Measuring spoons and cups will also come in handy. You will also need small bowls to hold ingredients when assembling the mini Dessert Cups and disposable cups for serving.
Answers to Commonly Asked Questions
The standard dessert size will vary according to the dessert and culture. For example, a 9" inch cake should yield 16 slices. While desserts made in single serve cups may be smaller or larger depending on the size of the vessel.
Mini dessert cups can be stored easily in a round baking pan. If the dessert cups are shallow enough, you can also place plastic wrap over the baking pan so that they don't dry out. Place them in the refrigerator until you are ready to serve.
The easiest way to fill dessert cups is by using a piping bag and tip.
The best way to transport mini desserts cups is in a tray or pan that is taller than the dessert cups. Make sure the dessert cups are snug in place and cannot move by filling gaps with paper. Cover with plastic wrap for transport if possible.
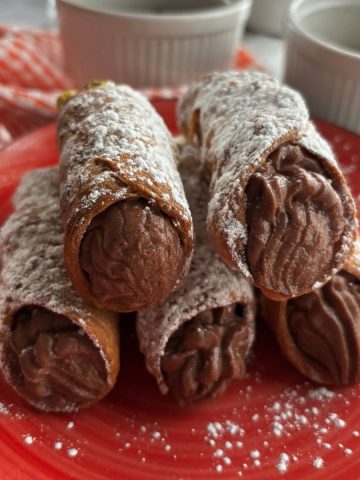
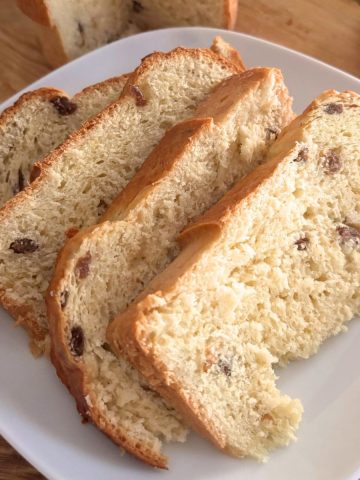
Other Dessert Recipes

Recipe Details
Chocolate Mini Desserts
https://easyhomemaderecipes.caAffiliate Disclosure
This page contains affiliate links, which means I may receive commissions if you choose to purchase through links I provide (at no extra cost to you). Thank you for supporting the work I put into this site! As an Amazon Associate I earn from qualifying purchases.
Ingredients
Flavor Ingredients
- ½ cup Chocolate Wafer Crumbs e.g. Oreo Cookie crumbs
- 4.4 oz Cream Cheese
- 1 cup Heavy Cream
- ½ cup Sugar
- 14 oz Chocolate Loaf Cake you can also make your own
- 1 tbsp Vanilla Extract
Instructions
Whipped Cream and Cream Cheese Frosting
- In the bowl of a stand mixer, mix the cream cheese, vanilla and sugar until light and fluffy.
- Add the heavy cream slowly down the side of the bowl.
- Scrape the bowl.
- Mix on medium high until stiff and fluffy. Add chocolate wafer crumbs and mix lightly with the mixer or use a spatula. Do not over mix. Place in the refrigerator until you are ready to assemble the mini desserts.
Assembly
- You don't need to cut circular shapes to fit inside the glass. square shapes fit better because it fills the diameter nice and snug. You can use cake pieces too, just make sure that you are using enough cake to separate each layer to define a cream layer and cake layer.
- Start by placing cake in the bottom of a cup. Top with whipped cream cheese frosting.
- Repeat these step 3 and top your mini dessert with more cream cheese frosting.
- Keep refrigerated until you are ready to serve.
Notes
Top tip
Before making your whipped cream cheese frosting, place your mixing bowl and attachment in the freezer. Leave it in the freezer for 5 minutes. Make cleanup easy by using 5 oz recyclable plastic dessert cups. Square chocolate cake pieces work better because they hug the sides of the glass creating a distinct layer, separated from the cream cheese frosting.Nutrition
PIN It Here
Food Safety
Note that the storage guidelines provided on this page and site are estimates from personal experiences. We are all adults and as an adult you are responsible to ensure that the food you eat is safe to eat. Since, I'm not a food safety expert, you are responsible to review your local guidelines on food storage prior to storing any food left-overs.
Remember to:
- Not use the same utensils on cooked food, that previously touched raw meat
- Wash hands after touching raw meat
- Don't leave food sitting out at room temperature for extended periods
- Never leave cooking food unattended
- Use oils with high smoking point to avoid harmful compounds
- Always have good ventilation when using a gas stove
For Canadian Guidelines check the Government of Canada Food Safety Guidelines or see more guidelines at USDA.gov.


Comments
No Comments