
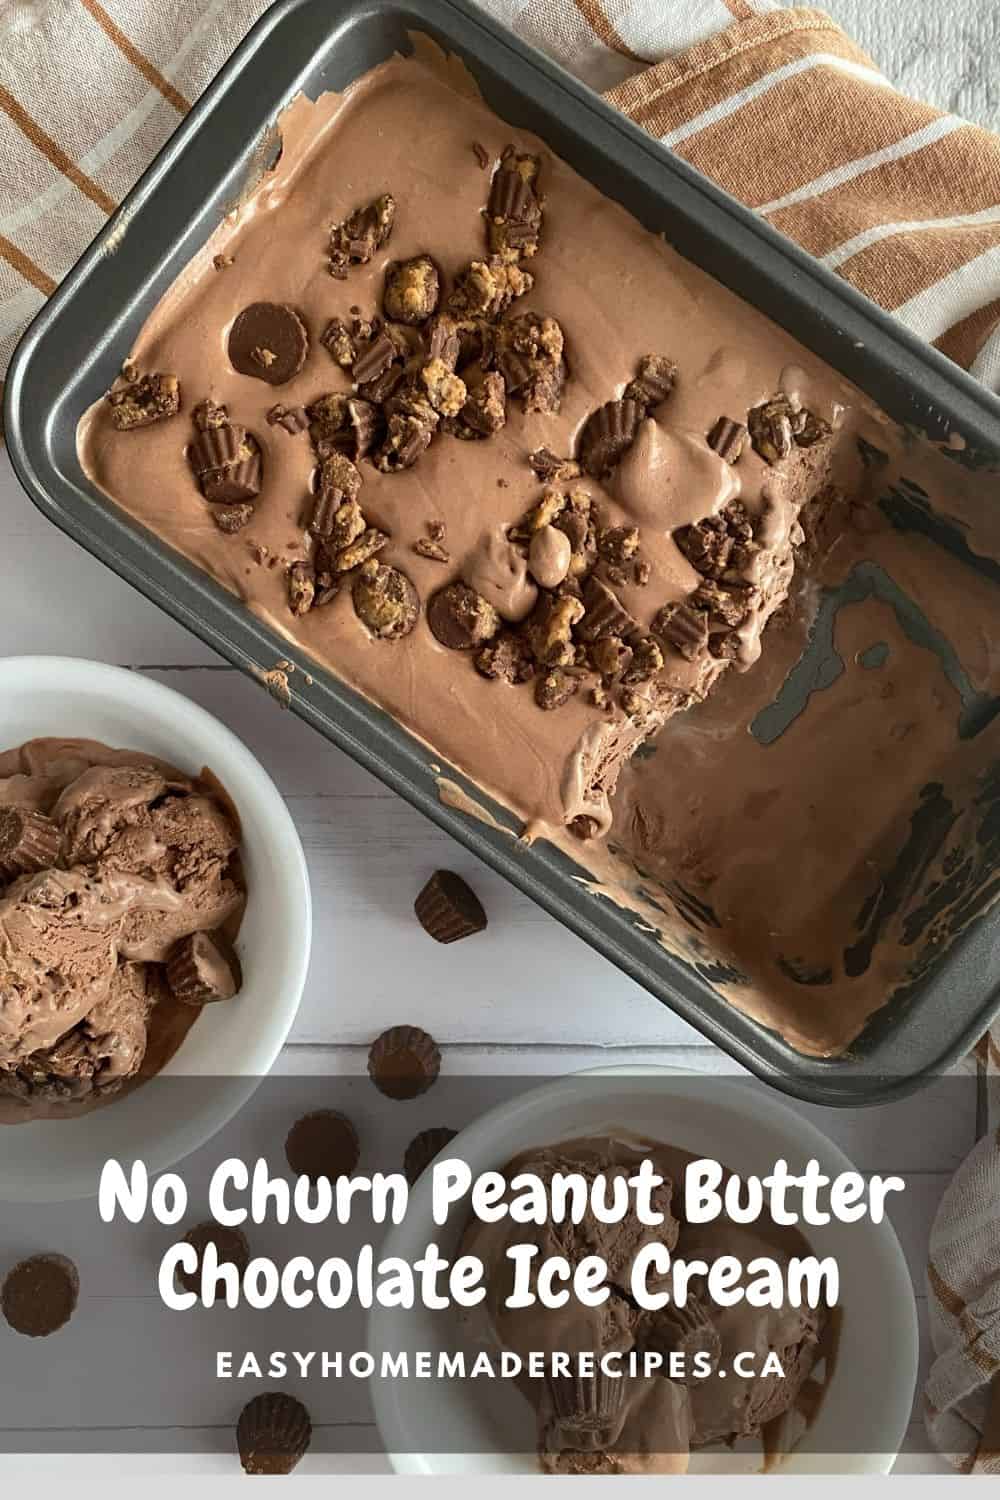
What's better than Reese Peanut Butter Cups? How about Chocolate Peanut Butter Ice Cream that can me made without an ice cream maker.
The best part about summer is having ice cream and this peanut butter ice cream comes together with 4 simple ingredients.
This recipes was inspired by my recipe for no churn Cookies and Cream Ice Cream which is another ice cream favorite using chocolate sandwich cookies which doesn't require an ice cream maker.

Jump to:
- Ingredients Needed to Make Homemade Peanut Butter Chocolate Ice Cream
- How to Make Chocolate Peanut Butter Ice Cream without an Ice Cream Maker
- Why Freeze Bowls When Making Ice Cream?
- Top tip
- Substitutions and Variations for No Churn Homemade Ice Cream
- Equipment
- Storage
- Other Desserts and Snacks
- Recipe Details
- PIN It Here
- Food Safety
- Comments
Ice cream recipes with condensed milk are one of my favorite homemade no churn ice cream. The best part is that you do not need an ice cream maker, sugar, eggs or egg yolks.
The ice cream base used in this chocolate peanut butter ice cream can be used in combination with any flavor not just peanut butter cups.
Ice cream is usually made in the summer. But, honestly this no churn peanut butter chocolate ice cream can be made any time of the year. Just make sure you have condensed milk and heavy cream on site.
Not only is the summer a great time to enjoy ice cream it is always a great time to enjoy some Boozy Strawberry Lemonade or Summer Drinks for Party.
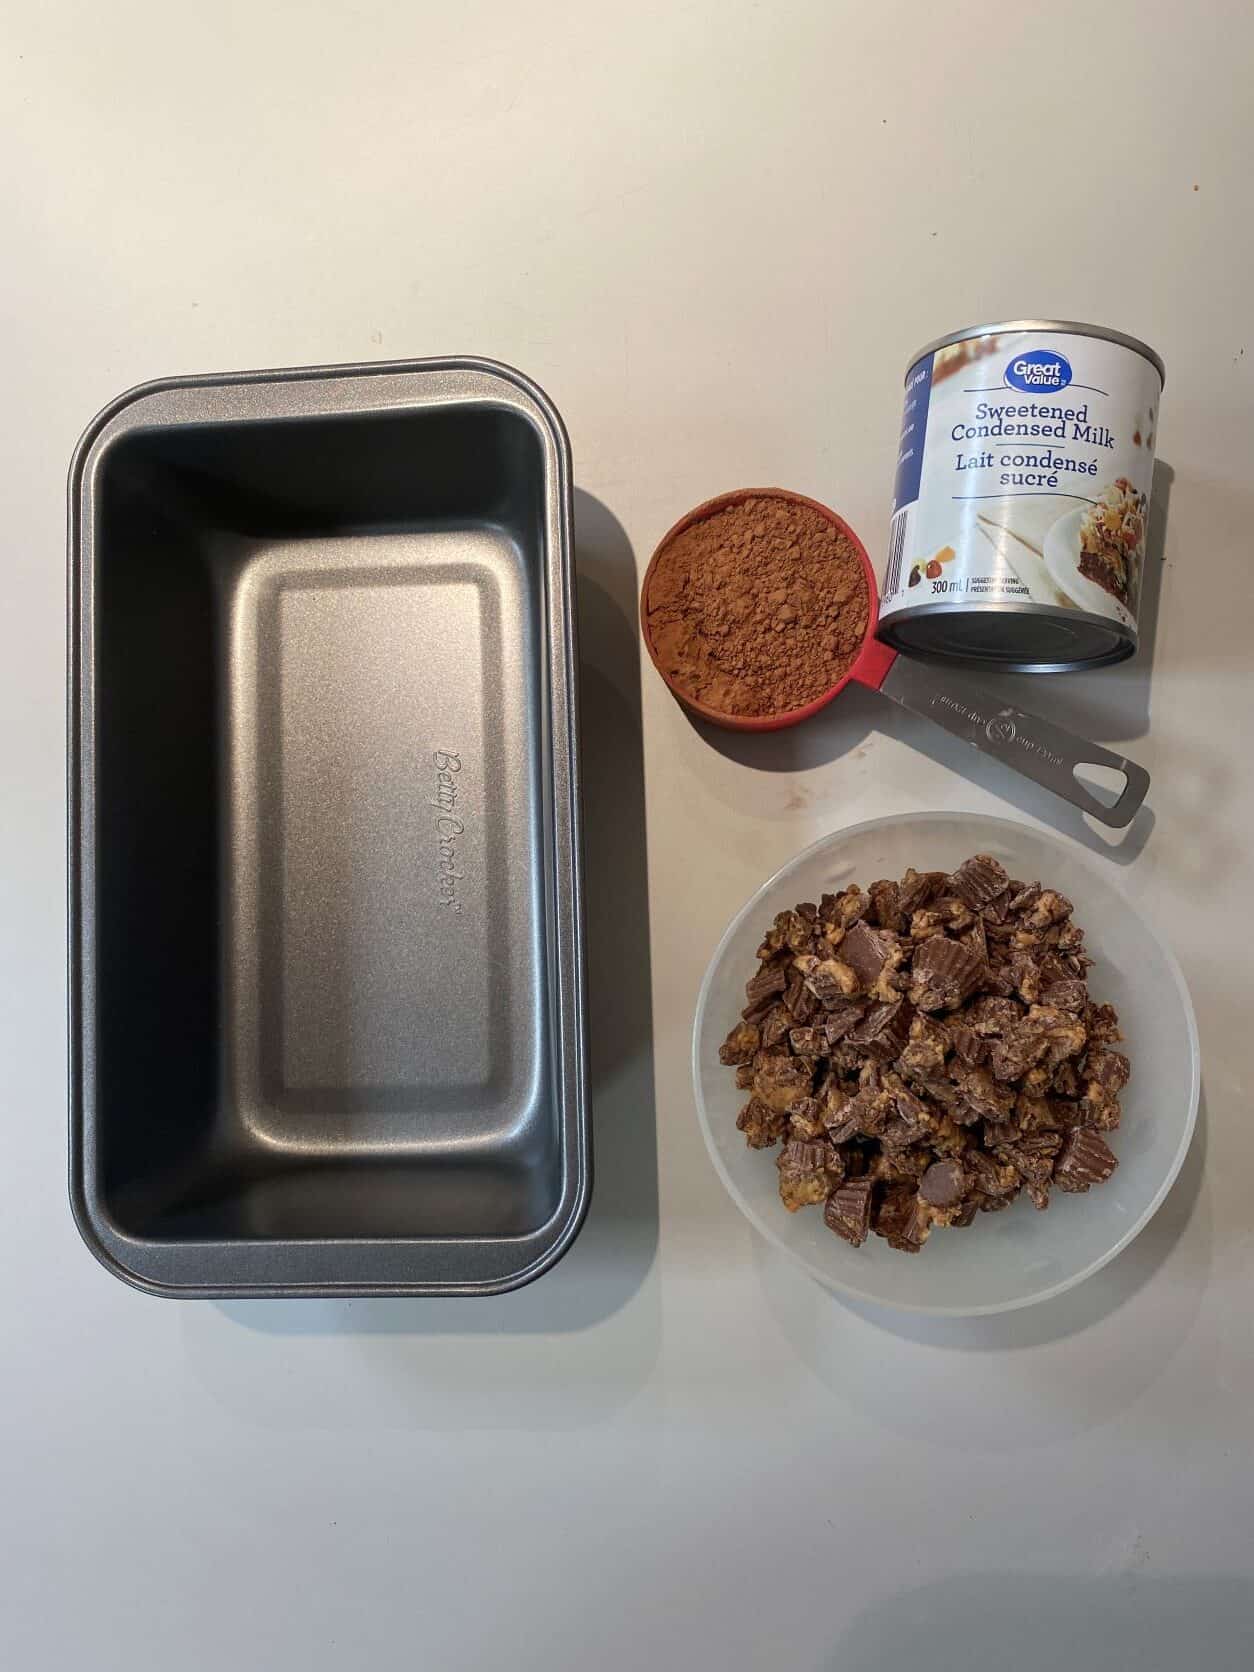
Ingredients Needed to Make Homemade Peanut Butter Chocolate Ice Cream
This Reese peanut butter chocolate cup ice cream recipe uses less than 5 ingredients and you can add any flavorings to the base not just Reese cups.
- Heavy Cream
- Condensed Milk
- Cocoa Powder
- Reeses Peanut Butter cups
See recipe card for quantities.
This page contains affiliate links, which means I may receive commissions if you choose to purchase through links I provide (at no extra cost to you). Thank you for supporting the work I put into this site! As an Amazon Associate I earn from qualifying purchases.
How to Make Chocolate Peanut Butter Ice Cream without an Ice Cream Maker
Place your mixing bowl and whisk attachment in the freezer for about 20 minutes.
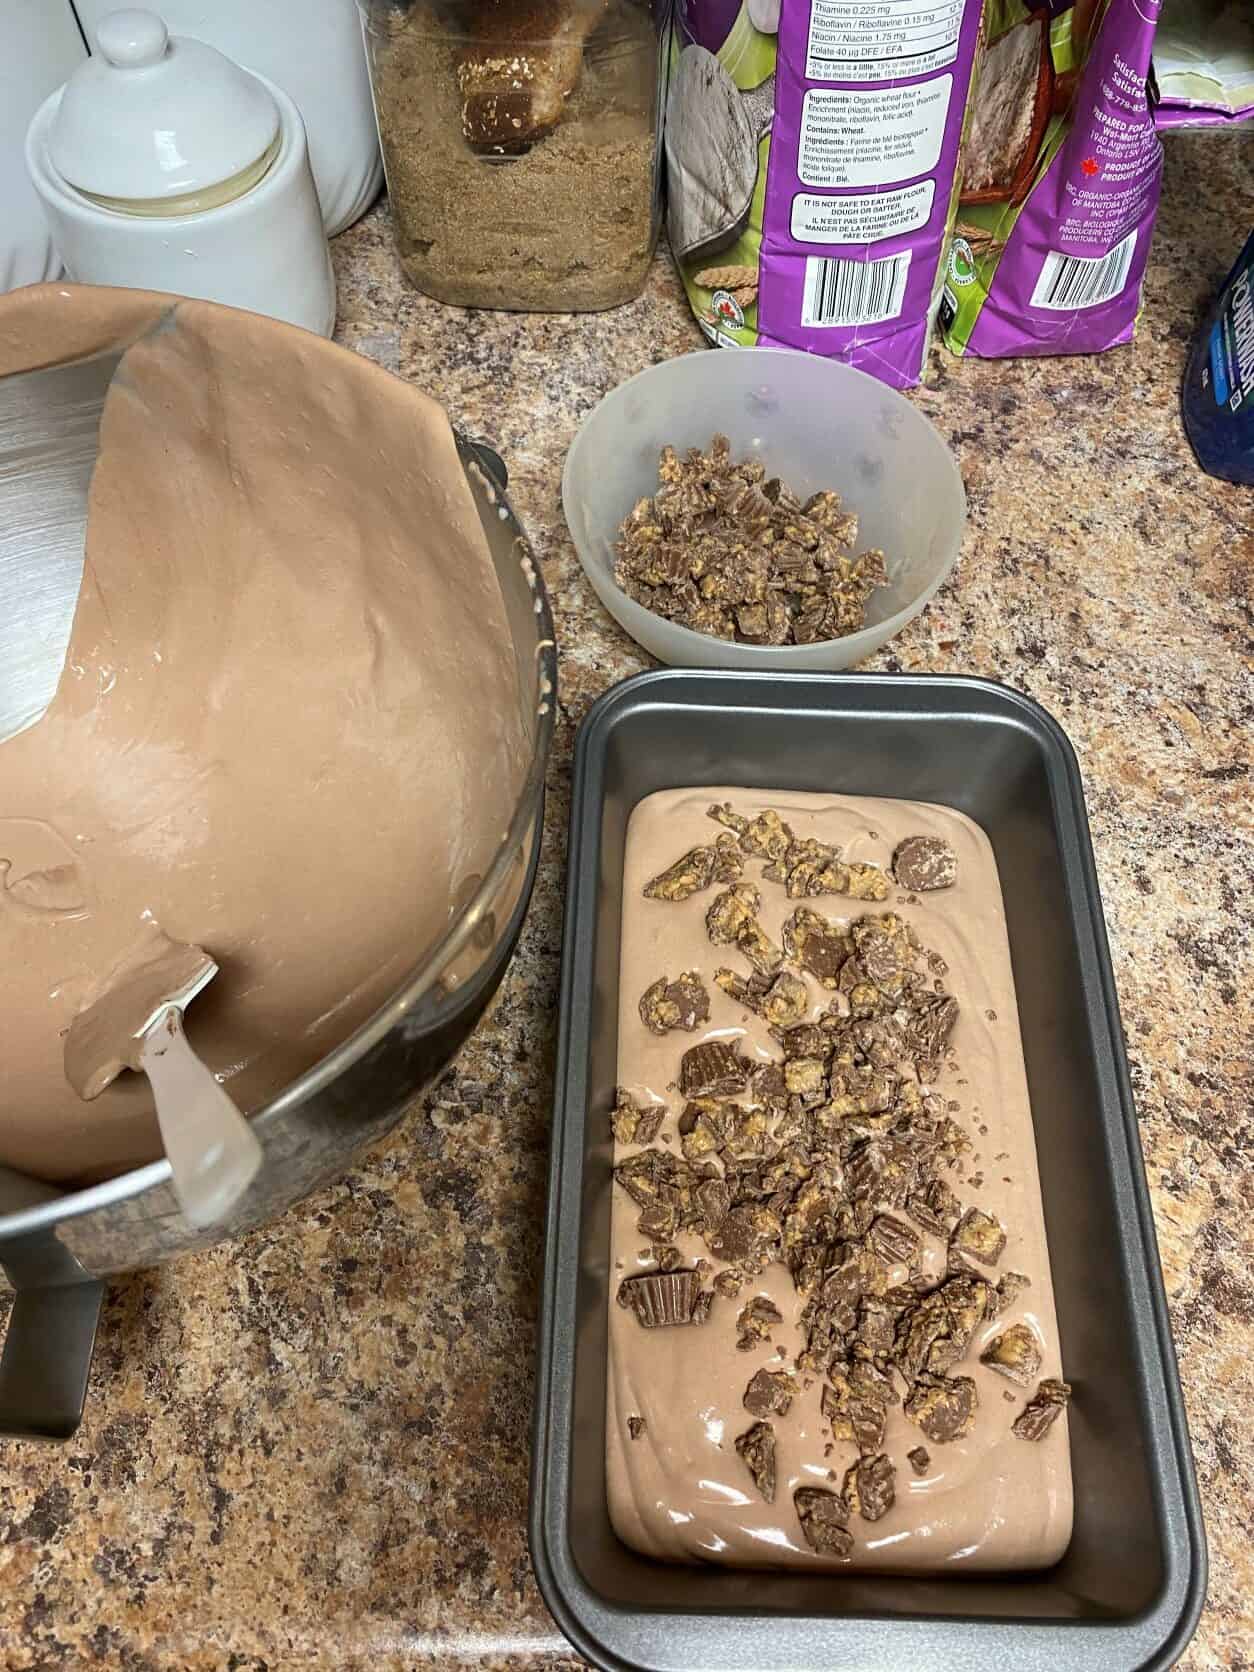
Place your Reese cups in a ziploc bag and smash them using a plate or glass. You can also place them in a food processor and pulse them coarsely. Set aside.
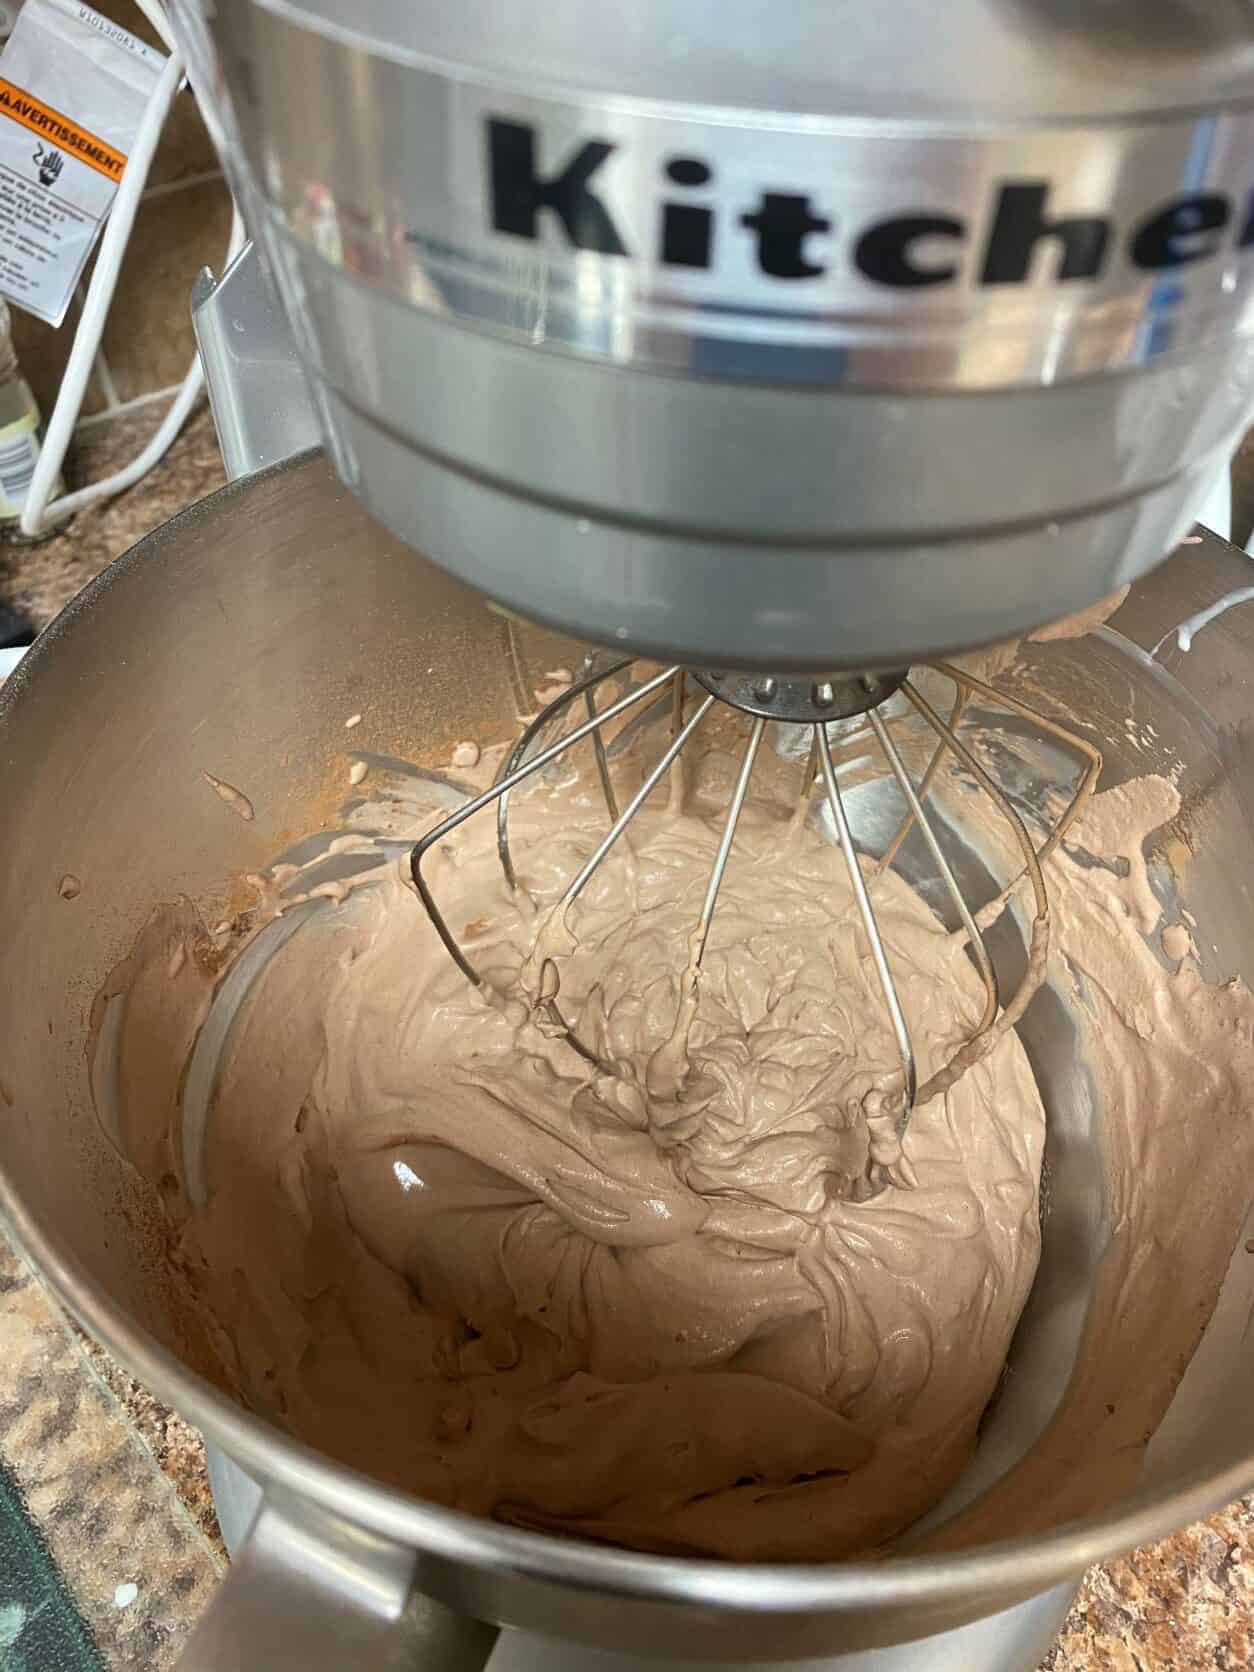
Place your heavy cream and cocoa powder in a freezer cold bowl and whip until stiff peaks form.
Add the condensed milk into the bowl with the whipped cream. Let the condensed milk run down the edges and mix on low until you have poured all the condensed milk in and it is mixed in with the whipped cream.
Pour half of the mixture into a loaf pan and top with the ground reese cups.
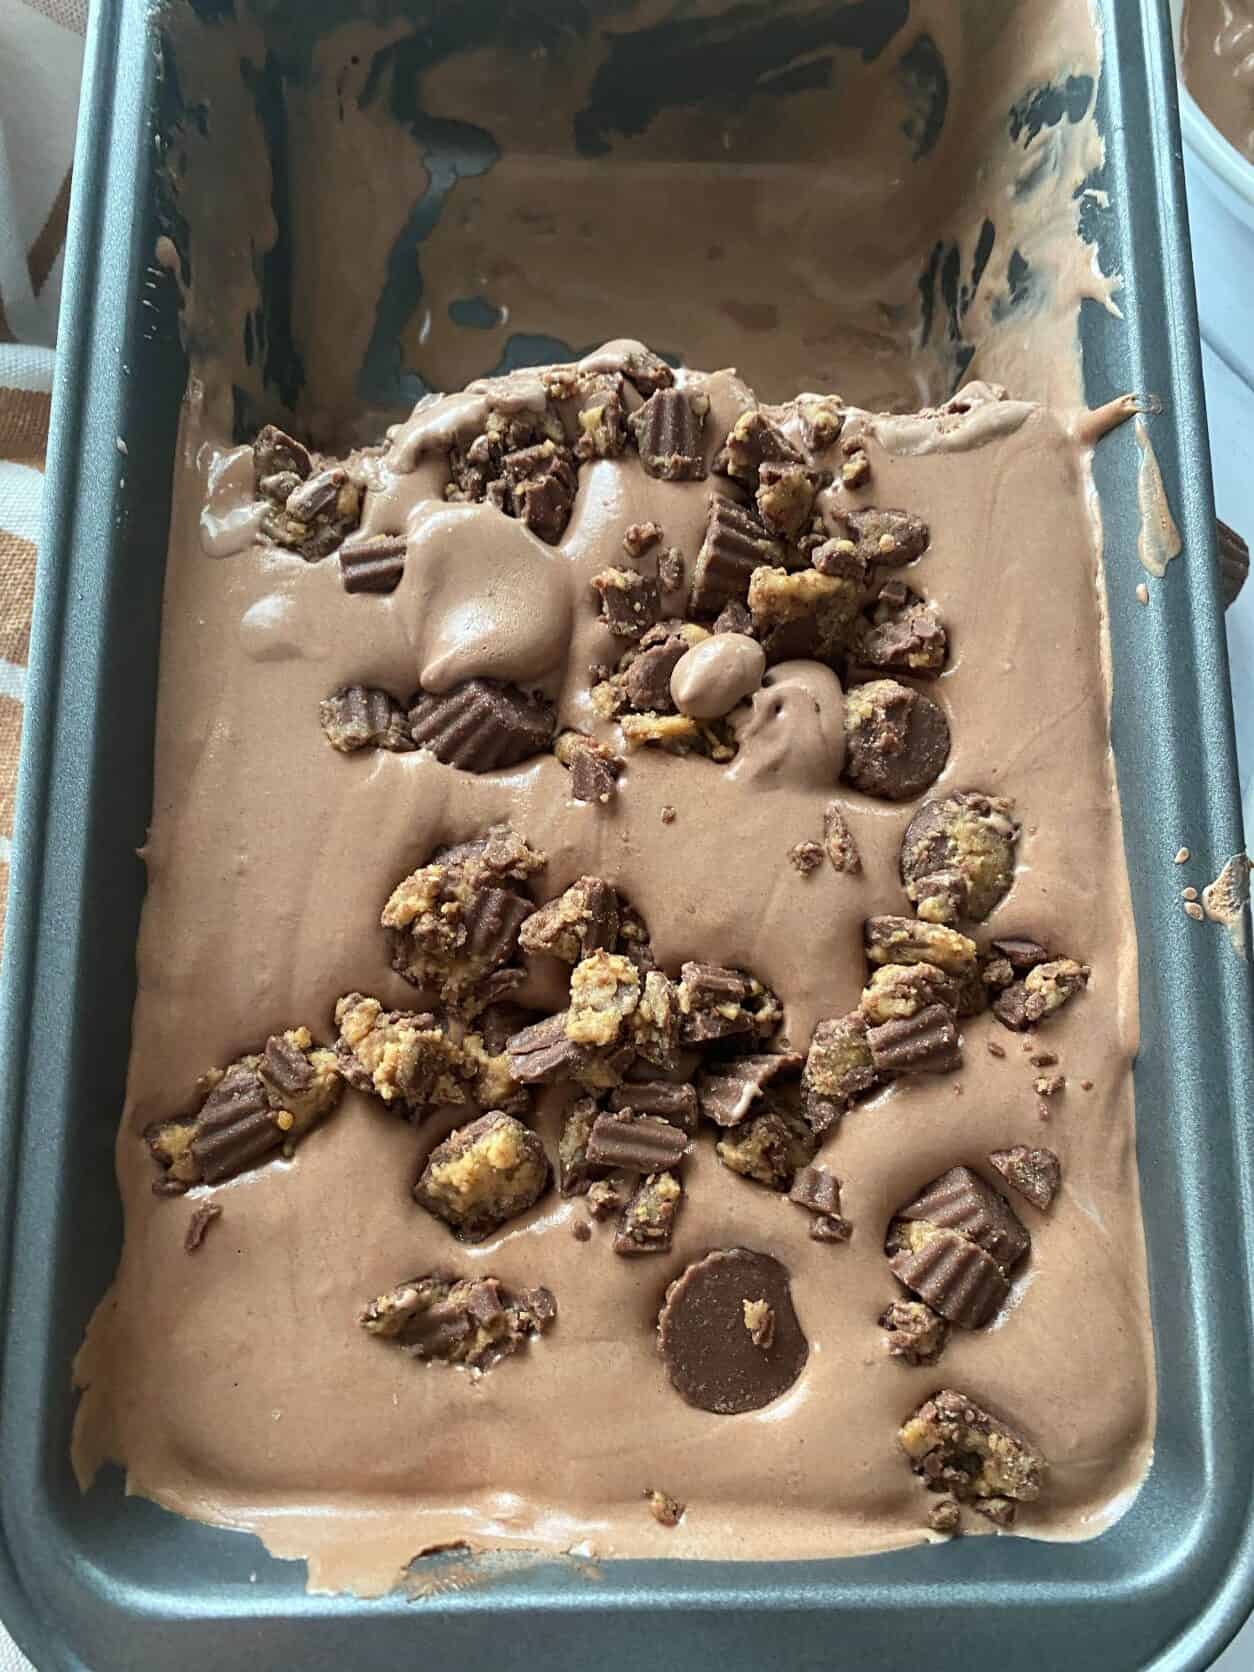
Pour remaining chocolate mixture on top and layer more ground reese cups on top. Place in freezer to chill for 8 hours.
Why Freeze Bowls When Making Ice Cream?
Freezing the bowls isn't necessary. But if you want creamy, smooth ice cream it's best to freeze your whisk, bowls and your freezer safe storage container(s) before you begin.
Keeping the bowls cool will in turn keep the whipping cream cool and prevent the whipping cream from crystallizing.
It's also a good idea to freeze any products you will be using if possible, like chocolate so that when you add them to the whipped cream mixture, they help to maintain the temperature of the whipped cream ice cream rather than it going up and down. This in turns help to prevent a big temperature change and will prevent some crystallization.
Top tip
I've tested making no churn ice cream with bowls and whisks that were freezer cold versus using them as they are in the kitchen.
Based on the results of making no churn ice cream, it doesn't make a difference. So, don't waste your time if you are not using an ice cream maker. Just ensure that you place your finished ice cream in the freezer right away and let it chill.
For a dense ice cream, let it freeze for 24 hours.
For soft serve, let it freeze for up to 6 hours.
Make sure that you are choosing a container that is large enough to hold your homemade ice cream securely and that the container is freezer safe.
Substitutions and Variations for No Churn Homemade Ice Cream
Here are some ideas on how to make this Homemade No Churn Ice Cream Unique:
- Cookie Monster Ice Cream - Use the base, add some blue food coloring, chopped up Oreos, chopped up chocolate chip cookies, and edible cookie dough bites.
- White Chocolate Raspberry Ice Cream - this is one of my favorites incorporating white chocolate and frozen raspberries. This one requires an ice cream maker.
- Torrone Ice Cream - A nougat ice cream that is so rich tasting with flavors of almond that tastes just like the one at the ice cream parlor down the street
- Chocolate Brownie - use the vanilla base in this recipe and substitute the Oreo cookies with crumbled brownies
- Golden Oreos - substitute golden Oreos or vanilla sandwich cookies for peanut butter cups, omit the cocoa and make a vanilla cookies n cream ice cream.
Got other ideas? Go ahead and use your imagination to make this recipe your own. Leave me a comment to let me know what flavor combination you used and how it turned out.
Equipment
Since this ice cream is no churn, you don't need an ice cream maker. But you will need a hand mixer or a stand mixer. A food processor or a mini food processor comes in handy too to chop up your peanut butter cups.
Storage
It goes without saying that you will need a freezer safe container that is large enough to hold your ice cream. Glass works best. But you can use a metal non stick pans as well.
Freeze for at least 12 hours if you want a soft serve type ice cream. Otherwise freeze for 24 hours before serving. Consume your ice-cream within 3 weeks to avoid that dreaded freezer burn.
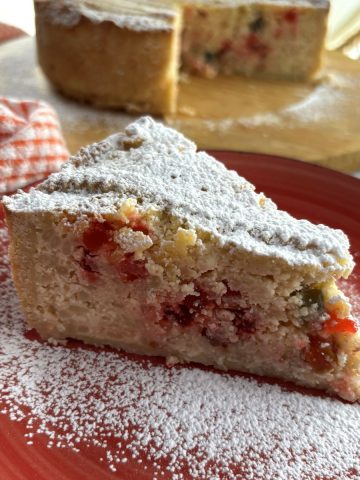
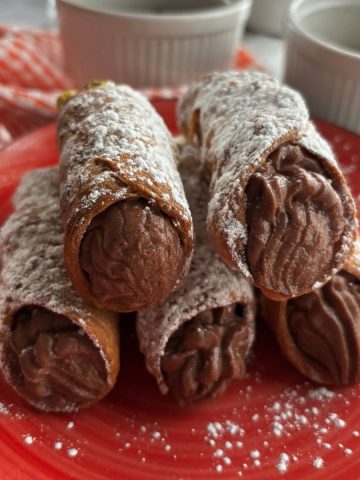
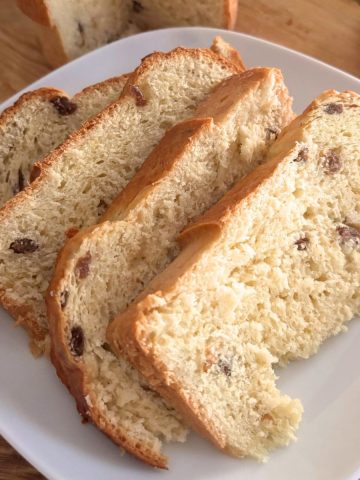
Other Desserts and Snacks

Recipe Details

Chocolate Peanut Butter Ice Cream
https://easyhomemaderecipes.caAffiliate Disclosure
This page contains affiliate links, which means I may receive commissions if you choose to purchase through links I provide (at no extra cost to you). Thank you for supporting the work I put into this site! As an Amazon Associate I earn from qualifying purchases.
Ingredients
- 2 cups Heavy Cream
- 10 oz Condensed Milk 1 small can
- 1 cup mini Reese Peanut Butter Cups smashed
- ½ cup cooca powder
Instructions
- Place your mixing bowl and whisk attachment in the freezer for about 20 minutes.
- Place your Reese cups in a ziploc bag and smash them using a plate or glass. You can also place them in a food processor and pulse them coarsely. Set aside.1 cup mini Reese Peanut Butter Cups
- Place your heavy cream and cocoa powder in a freezer cold bowl and whip until stiff peaks form.2 cups Heavy Cream, ½ cup cooca powder
- Add the condensed milk into the bowl with the whipped cream. Let the condensed milk run down the edges and mix on low until you have poured all the condensed milk in and it is mixed in with the whipped cream.10 oz Condensed Milk
- Pour half of the mixture into a loaf pan and top with the ground reese cups.
- Pour remaining chocolate mixture on top and layer more ground reese cups on top.
- Place in freezer to chill for 8 hours.
Notes
Nutrition
PIN It Here
Food Safety
Note that the storage guidelines provided on this page and site are estimates from personal experiences. We are all adults and as an adult you are responsible to ensure that the food you eat is safe to eat. Since, I'm not a food safety expert, you are responsible to review your local guidelines on food storage prior to storing any food left-overs.
Remember to:
- Not use the same utensils on cooked food, that previously touched raw meat
- Wash hands after touching raw meat
- Don't leave food sitting out at room temperature for extended periods
- Never leave cooking food unattended
- Use oils with high smoking point to avoid harmful compounds
- Always have good ventilation when using a gas stove
For Canadian Guidelines check the Government of Canada Food Safety Guidelines or see more guidelines at USDA.gov.


Comments
No Comments