
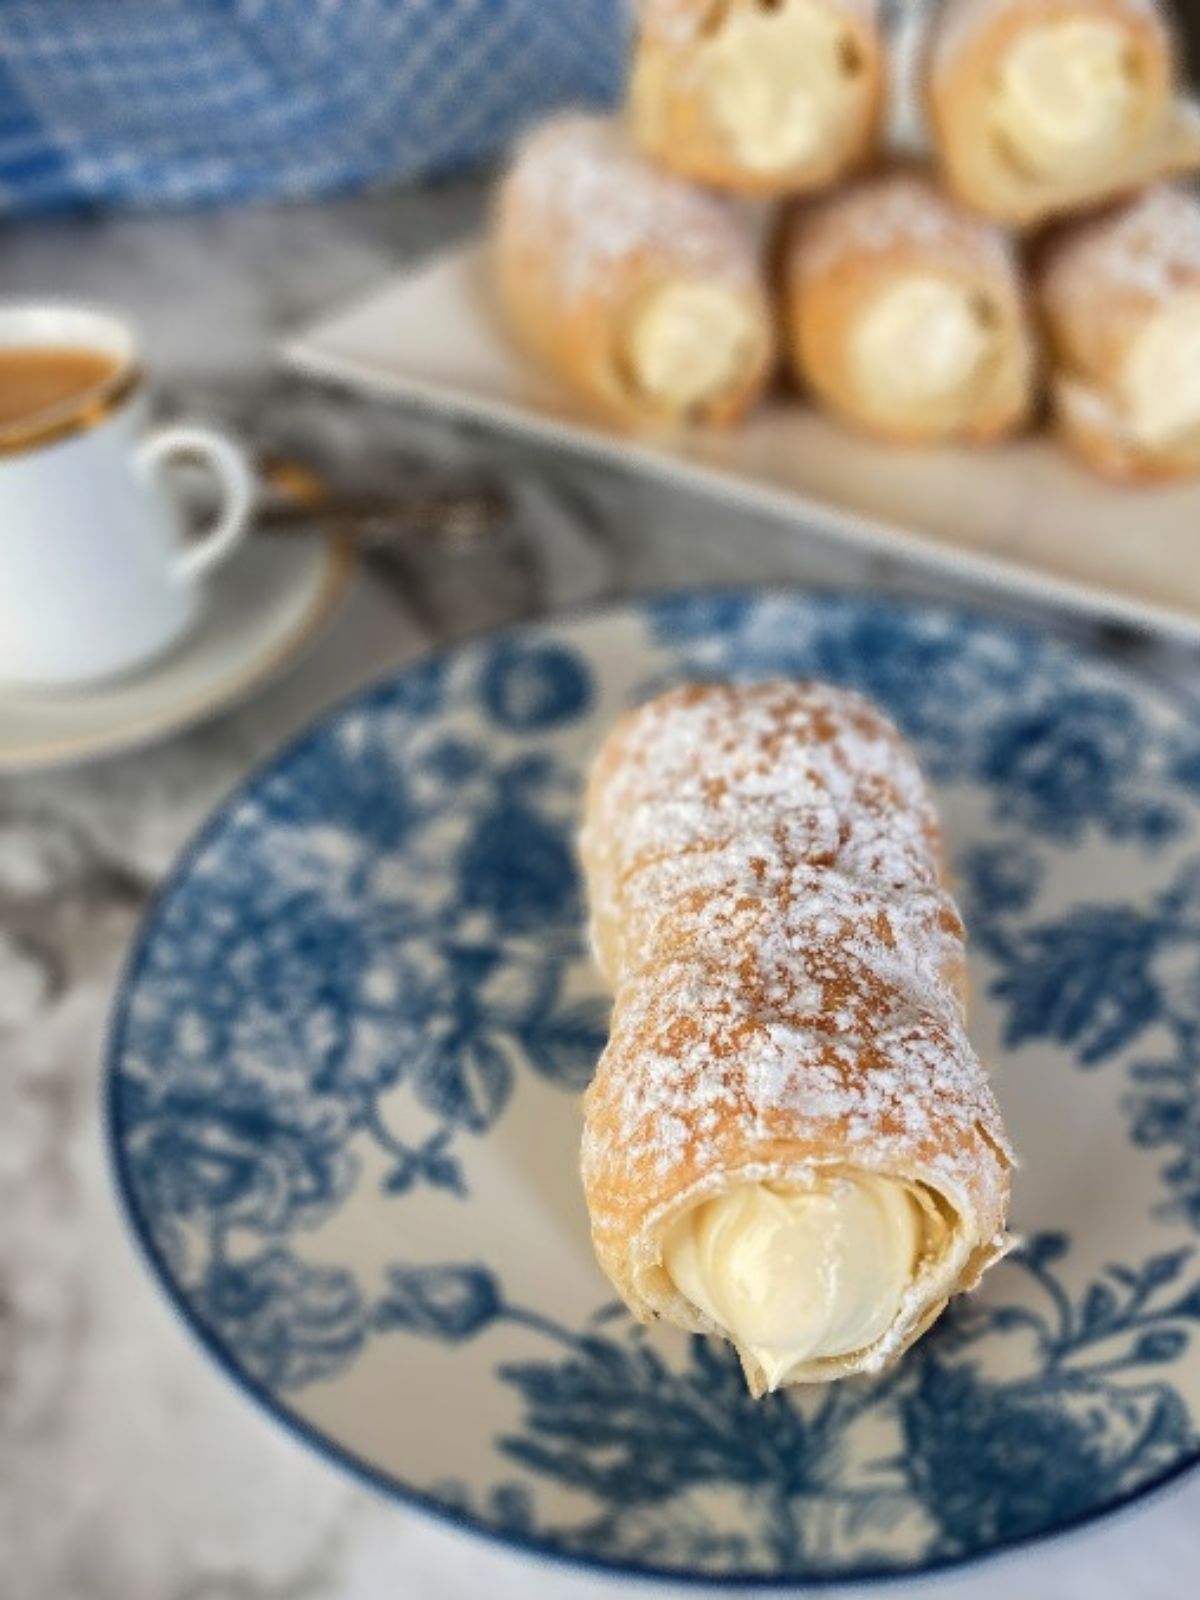
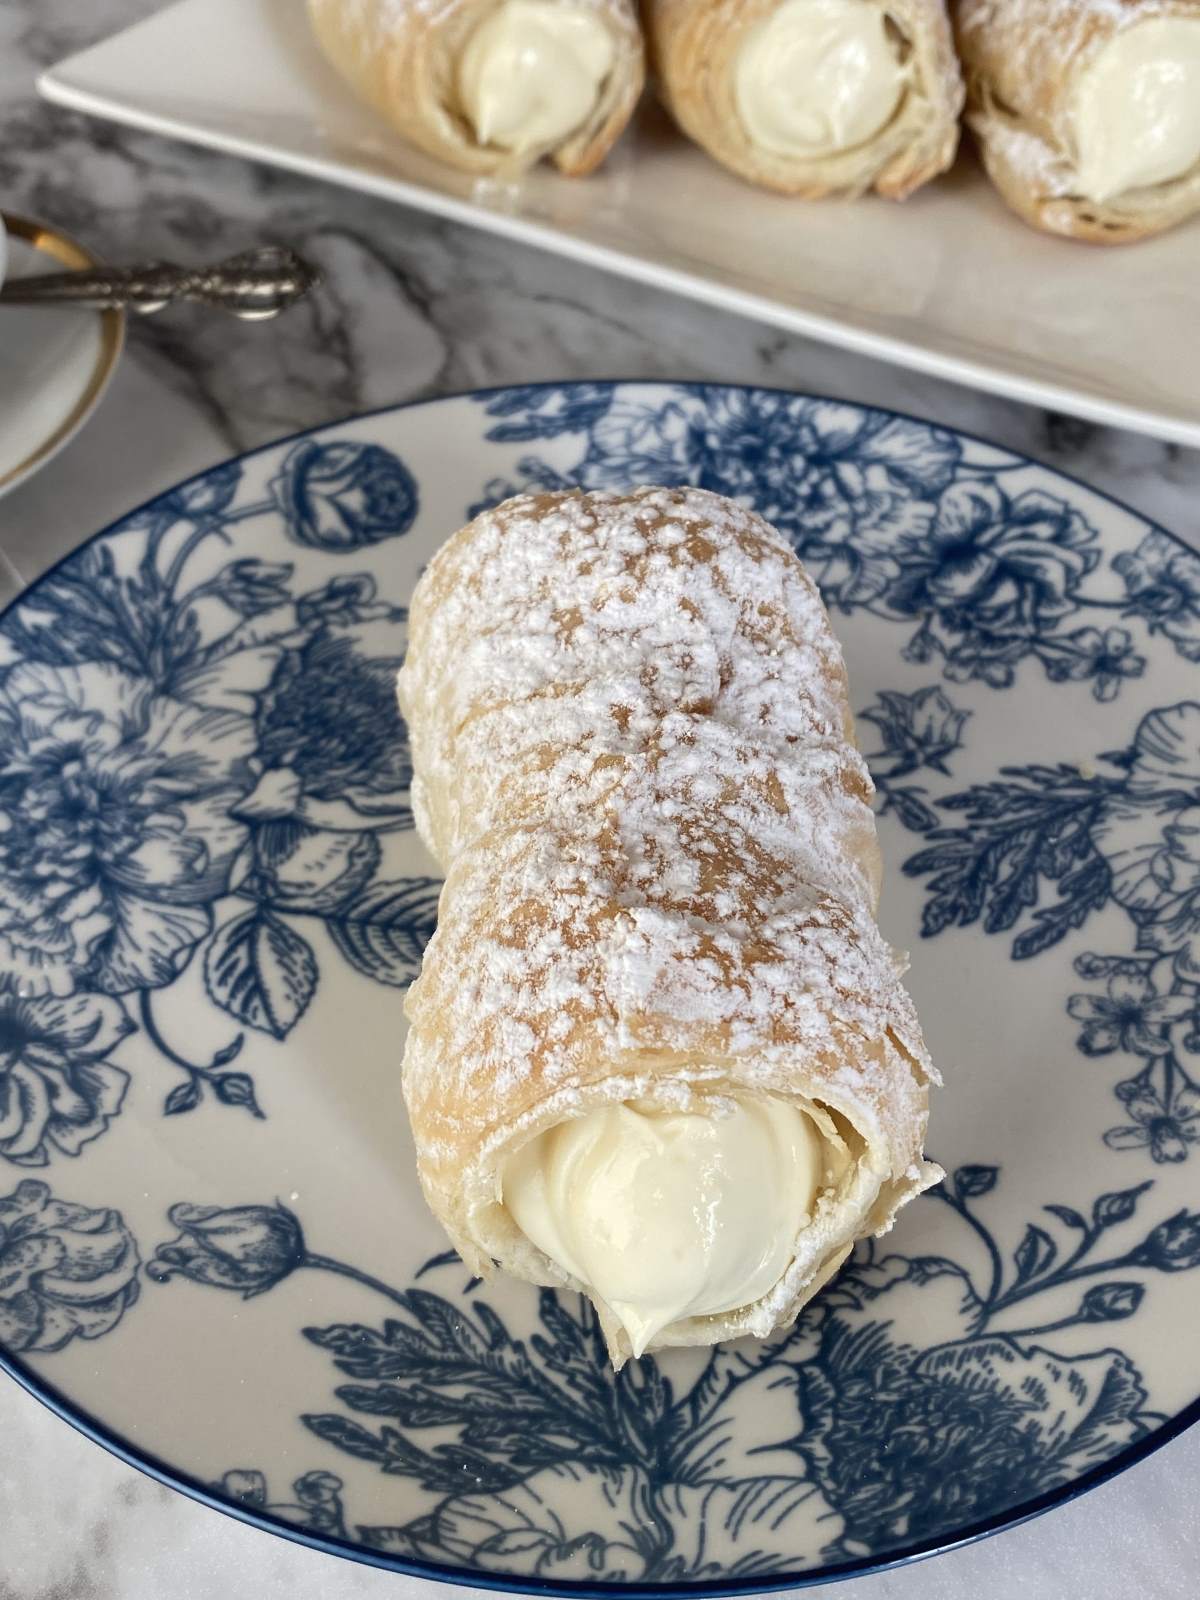
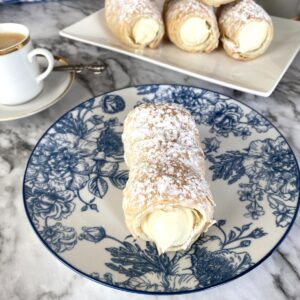
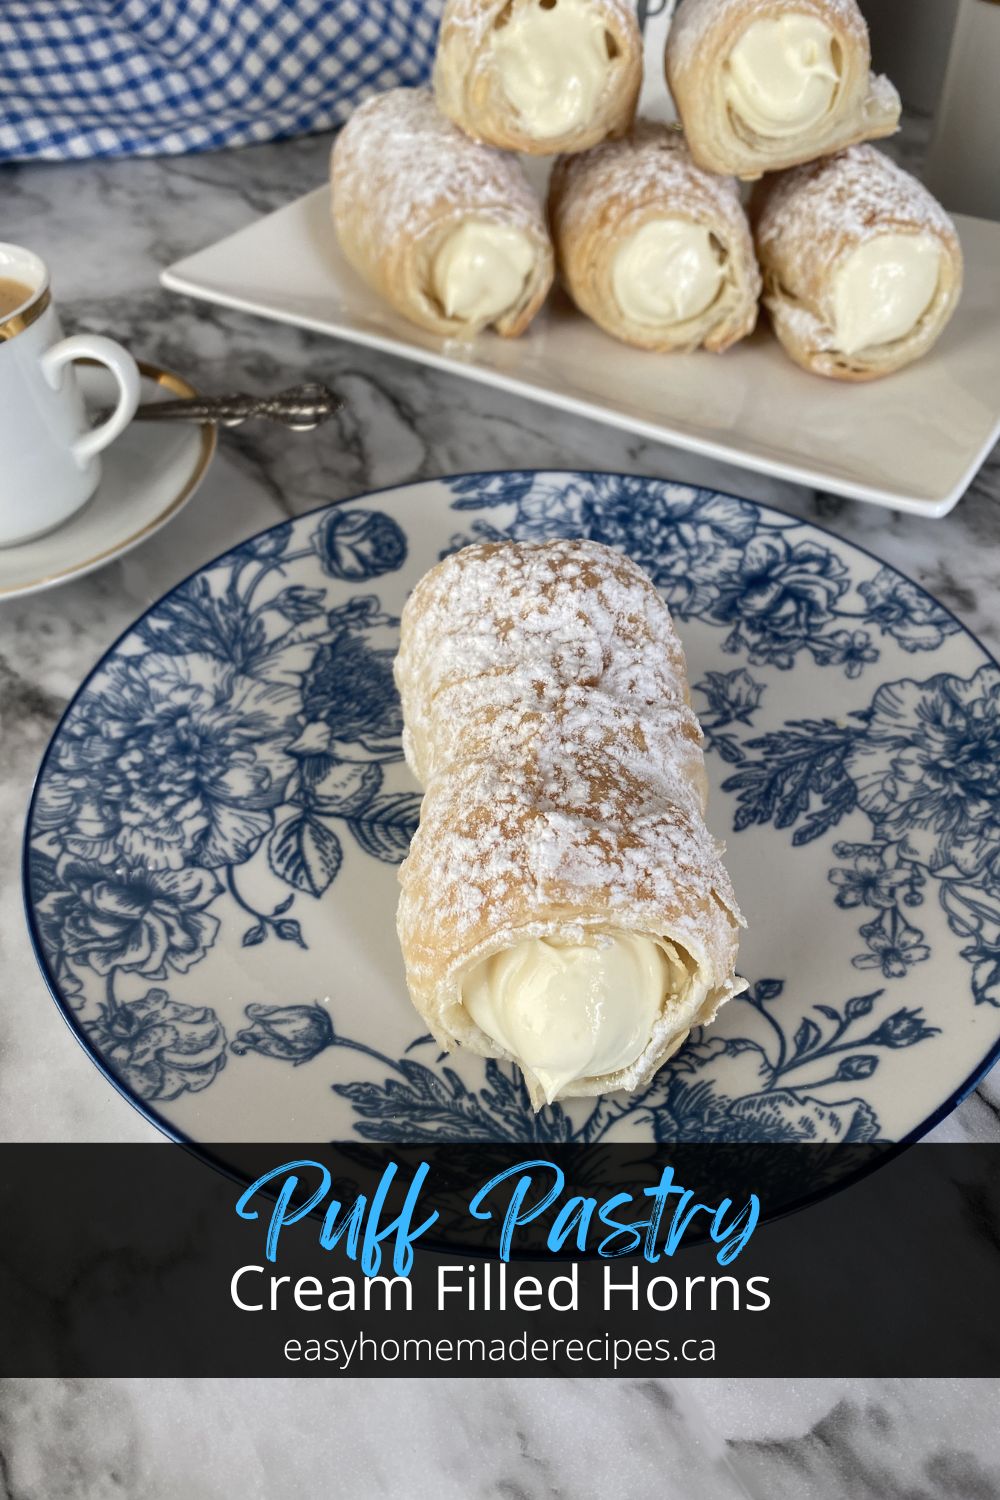
Have you ever tried a Cream Filled Pastry Horns (aka cream filled pastry horns)? They are a traditional European pastry that consists of a crispy puff pastry shell filled with a smooth and creamy whipped cream vanilla filling.
Jump to:
Cream filled cannoncini are similar to Italian Cannoli Pastry with ricotta, but they are baked instead of fried, and they have a lighter and flakier texture. They are also very easy to make at home with some store-bought puff pastry dough and a few simple ingredients.
In this post, I will show you how easy it is to make these delicious cream filled horns (cannoncini) in less than an hour. You will love them for breakfast, dessert or any occasion!
Other cream filled desserts you can make include:
- Italian Cannoli made with Riccotta
- Mille Feuille using Puff Pastry
- Nutella Puff Pastry Turnovers
- Strawberry Sfoglia Cake
- Puff Pastry Cranberry and Goat Cheese Rolls
- Cream Cheese Puff Pastry Bites
Puff Pastry with cream filling is a winning dessert no matter what time of the year you make it.
This page contains affiliate links, which means I may receive commissions if you choose to purchase through links I provide (at no extra cost to you). Thank you for supporting the work I put into this site! As an Amazon Associate I earn from qualifying purchases.
What to Drink with Cream Horns
Cream Horn Pastries are sinfully sweet on their own, but they go better with a beverage on the side like:
- Homemade Latte Recipe
- A Caffe Americano
- Regular Coffee using the Best Coffee Grounds
- A Simple Milk Tea
Pair these Puff Pastry filled Cream Horns with your favorite hot, cold or liquor drink of your choice. Heck, you can even just eat them on their own because they are delicious!
Ingredients Needed to Make Cream Filled Pastry Horns
You'll need the following ingredients to make cream filled pastry cream Horns:
- Pre-made Frozen Puff Pastry Dough
- Milk
- Cream
- Dream Whip Whipped Topping Mix
- Instant Vanilla Pudding
- Powdered Sugar
- Vegetable Oil
See recipe card for quantities.
Instructions
Start off by thawing your puff pastry as per the manufacturer's directions.
Preheat oven to 400°F.
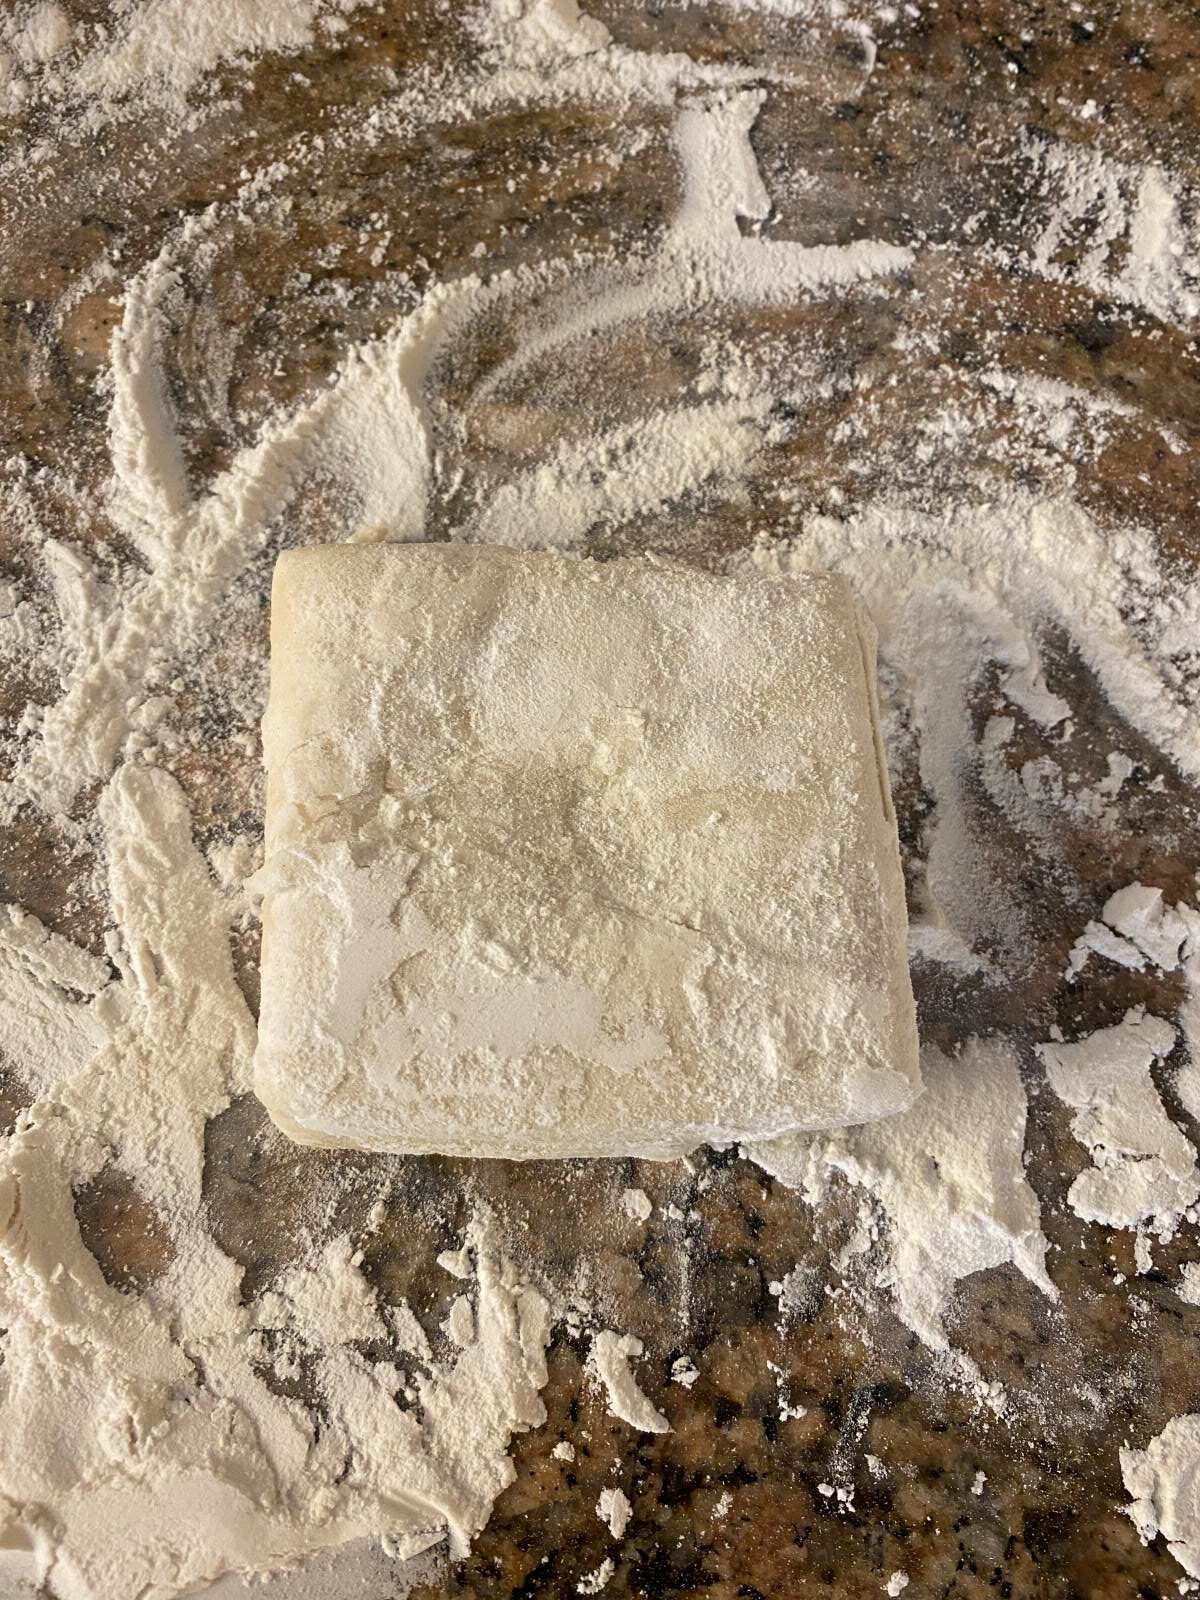
Roll out the puff pastry on a floured surface to a size of approximately 12 x 10"
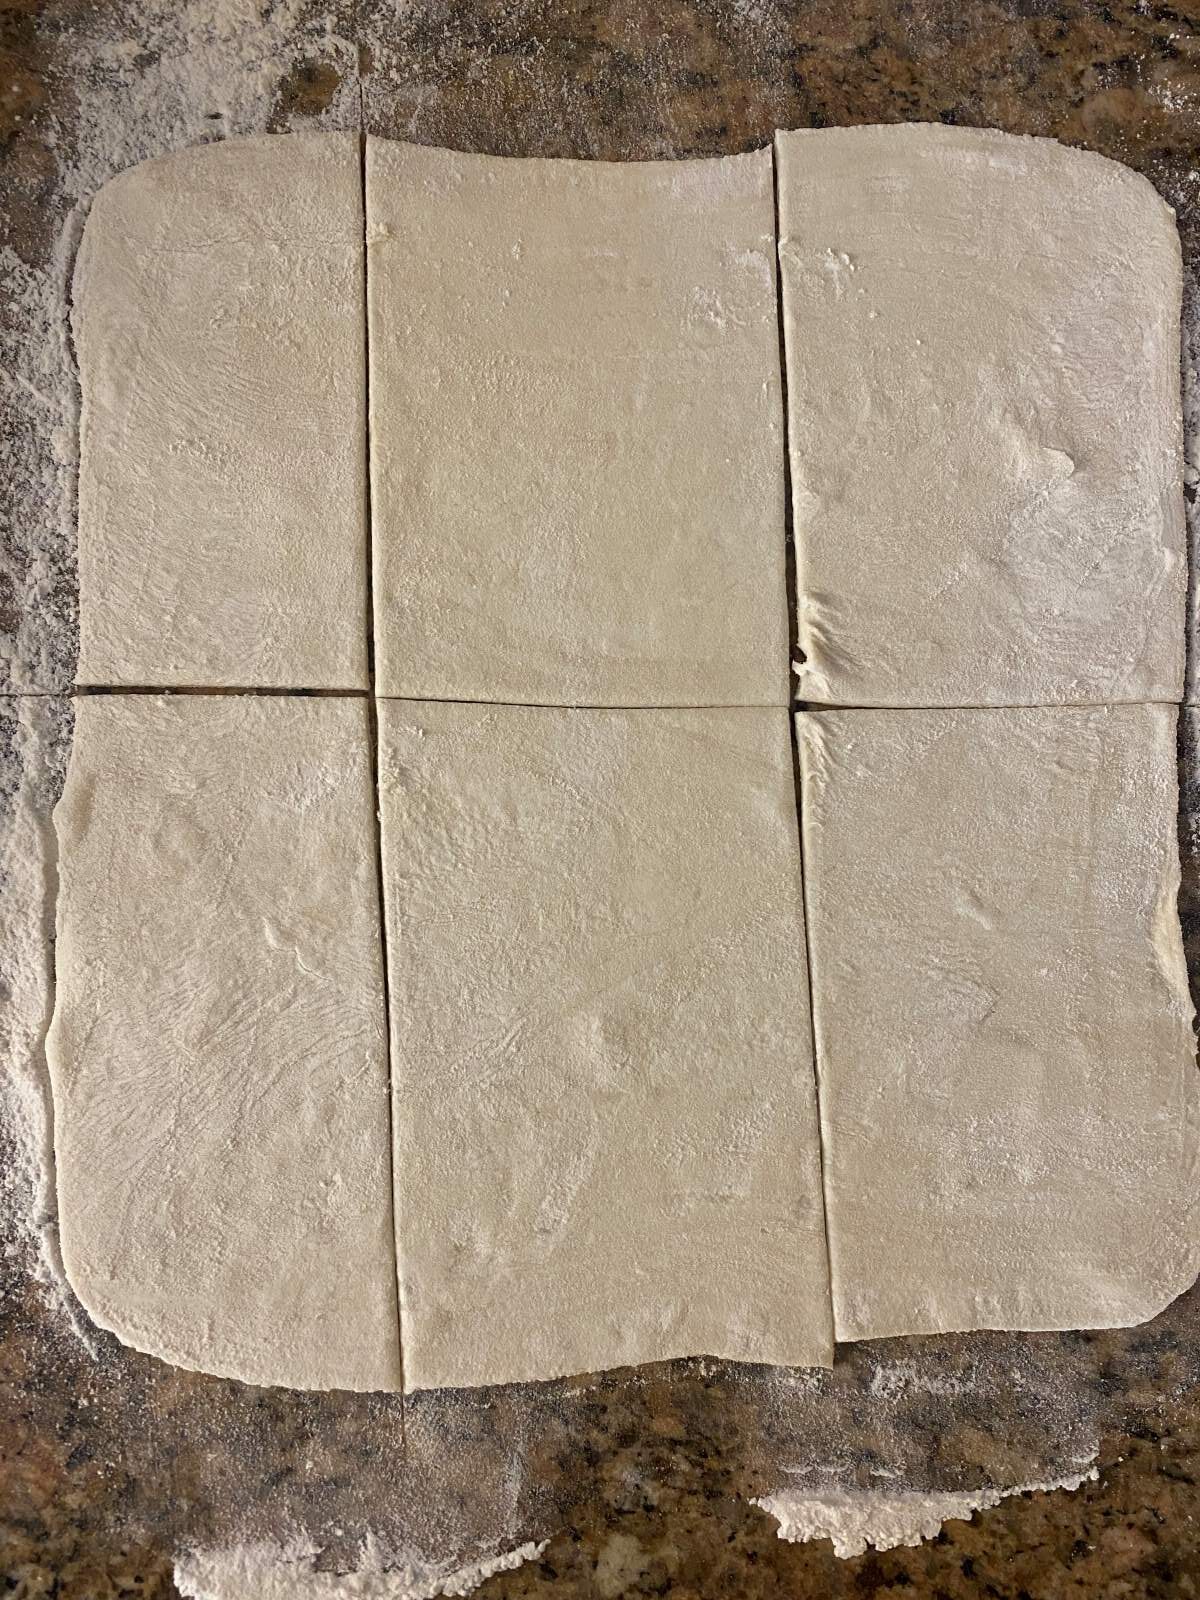
Using a pizza cutter or knife cut into 6 portions
Grease the pastry molds with butter.
Grease the pastry molds with butter.
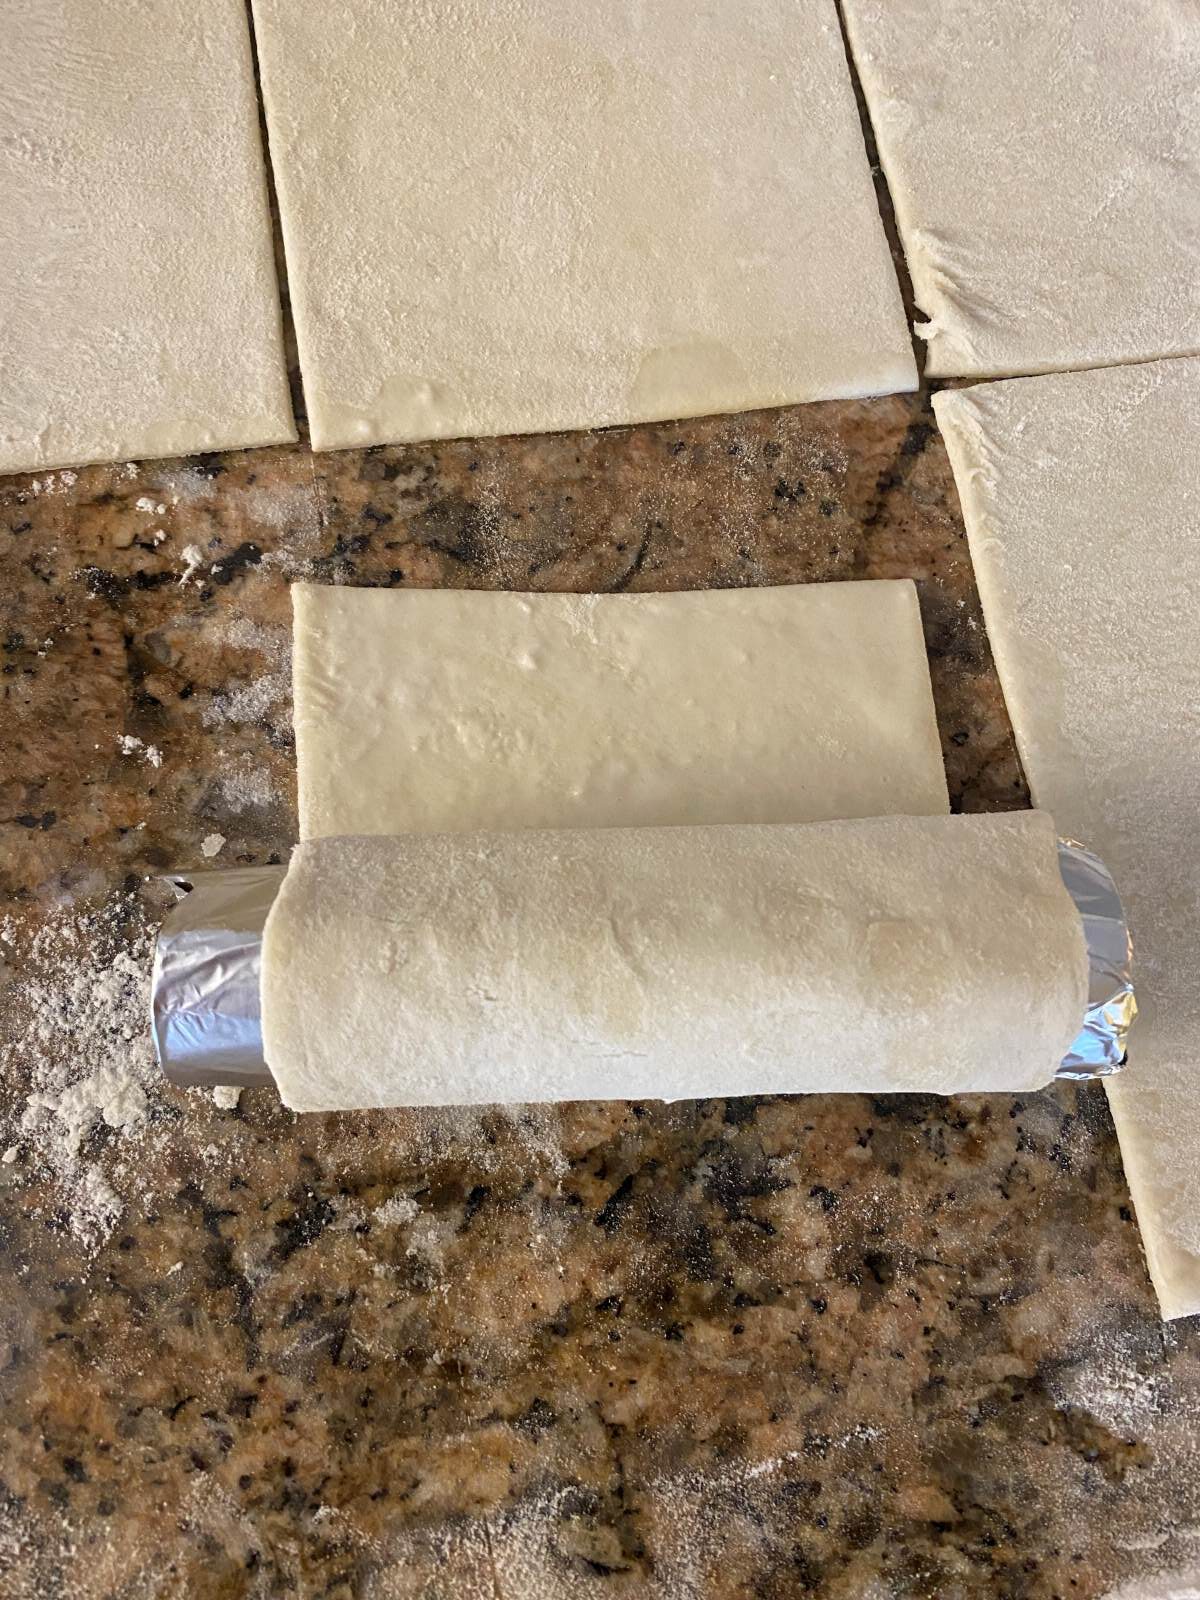
Using a wet paper towel, wet the first pastry sheet just to dampen it so that when you roll puff pastry around the mold it binds to each other.
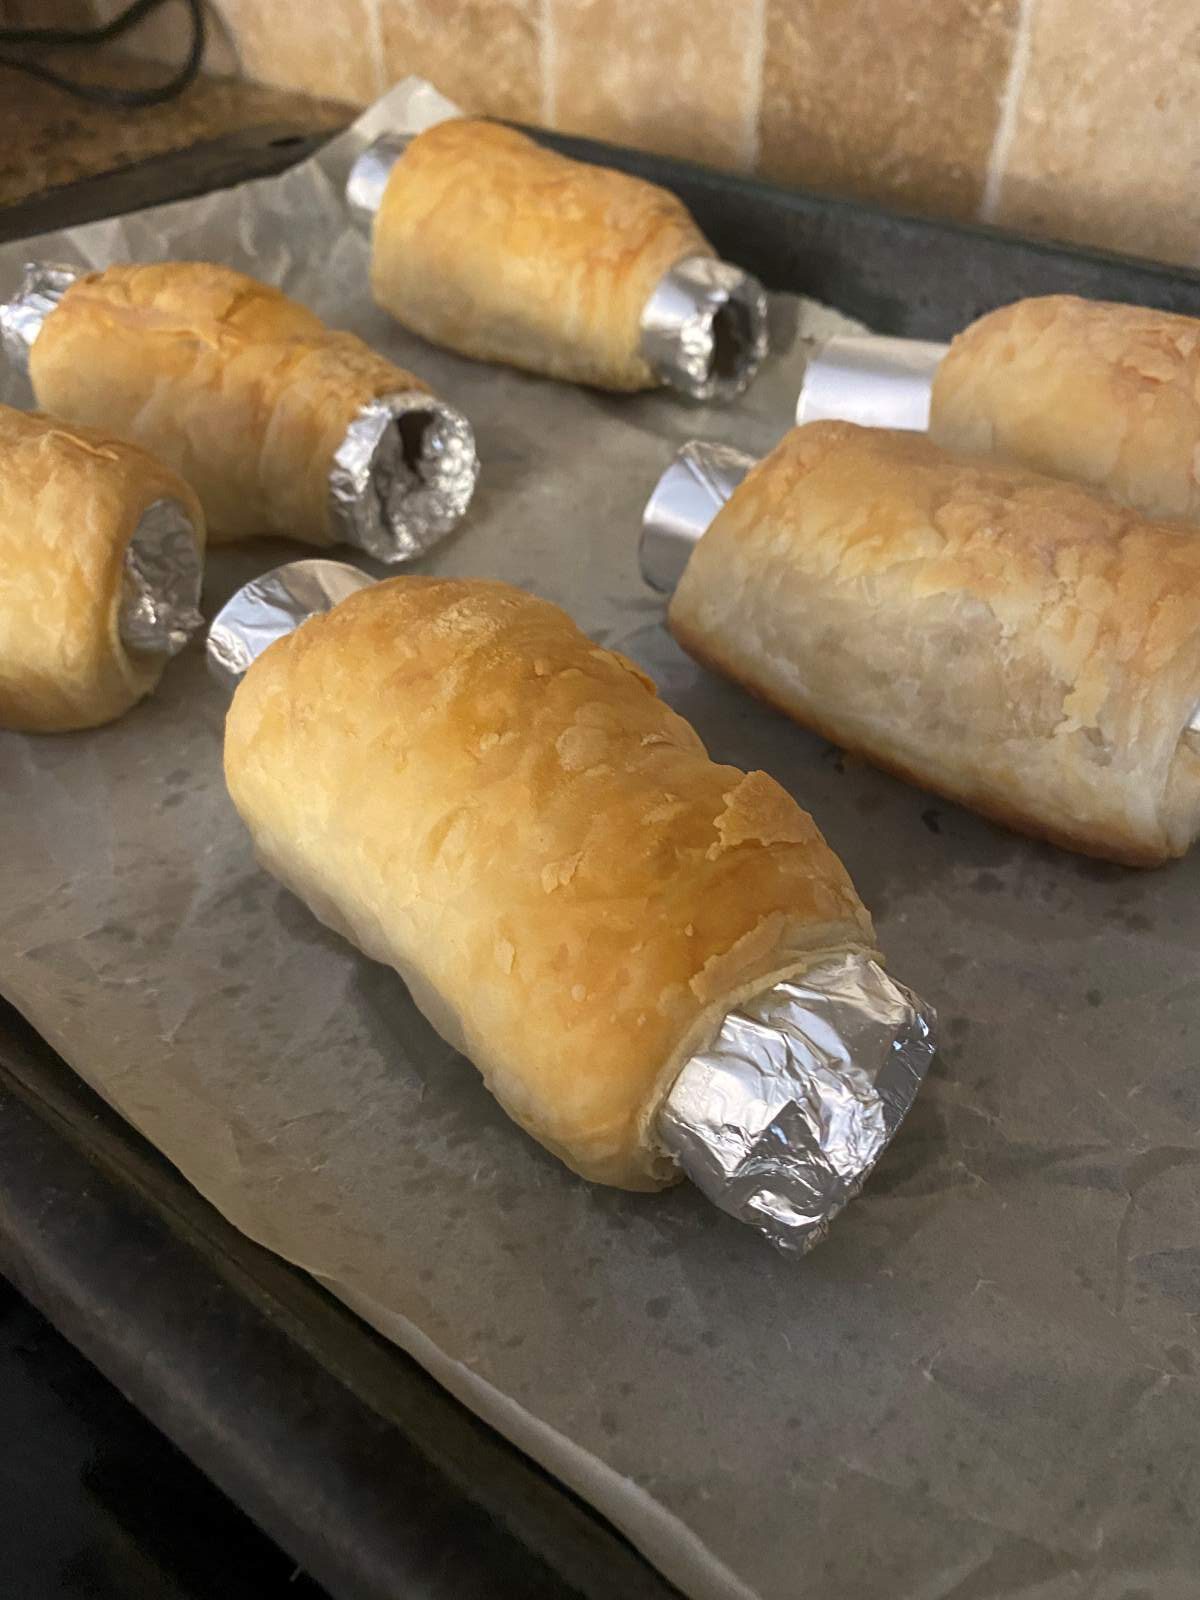
Roll the puff pastry around the mold and lay it on a baking sheet lined with parchment paper with the seam side down.
Bake for 15 to 20 minutes until golden. Remove from oven and let cool completely.
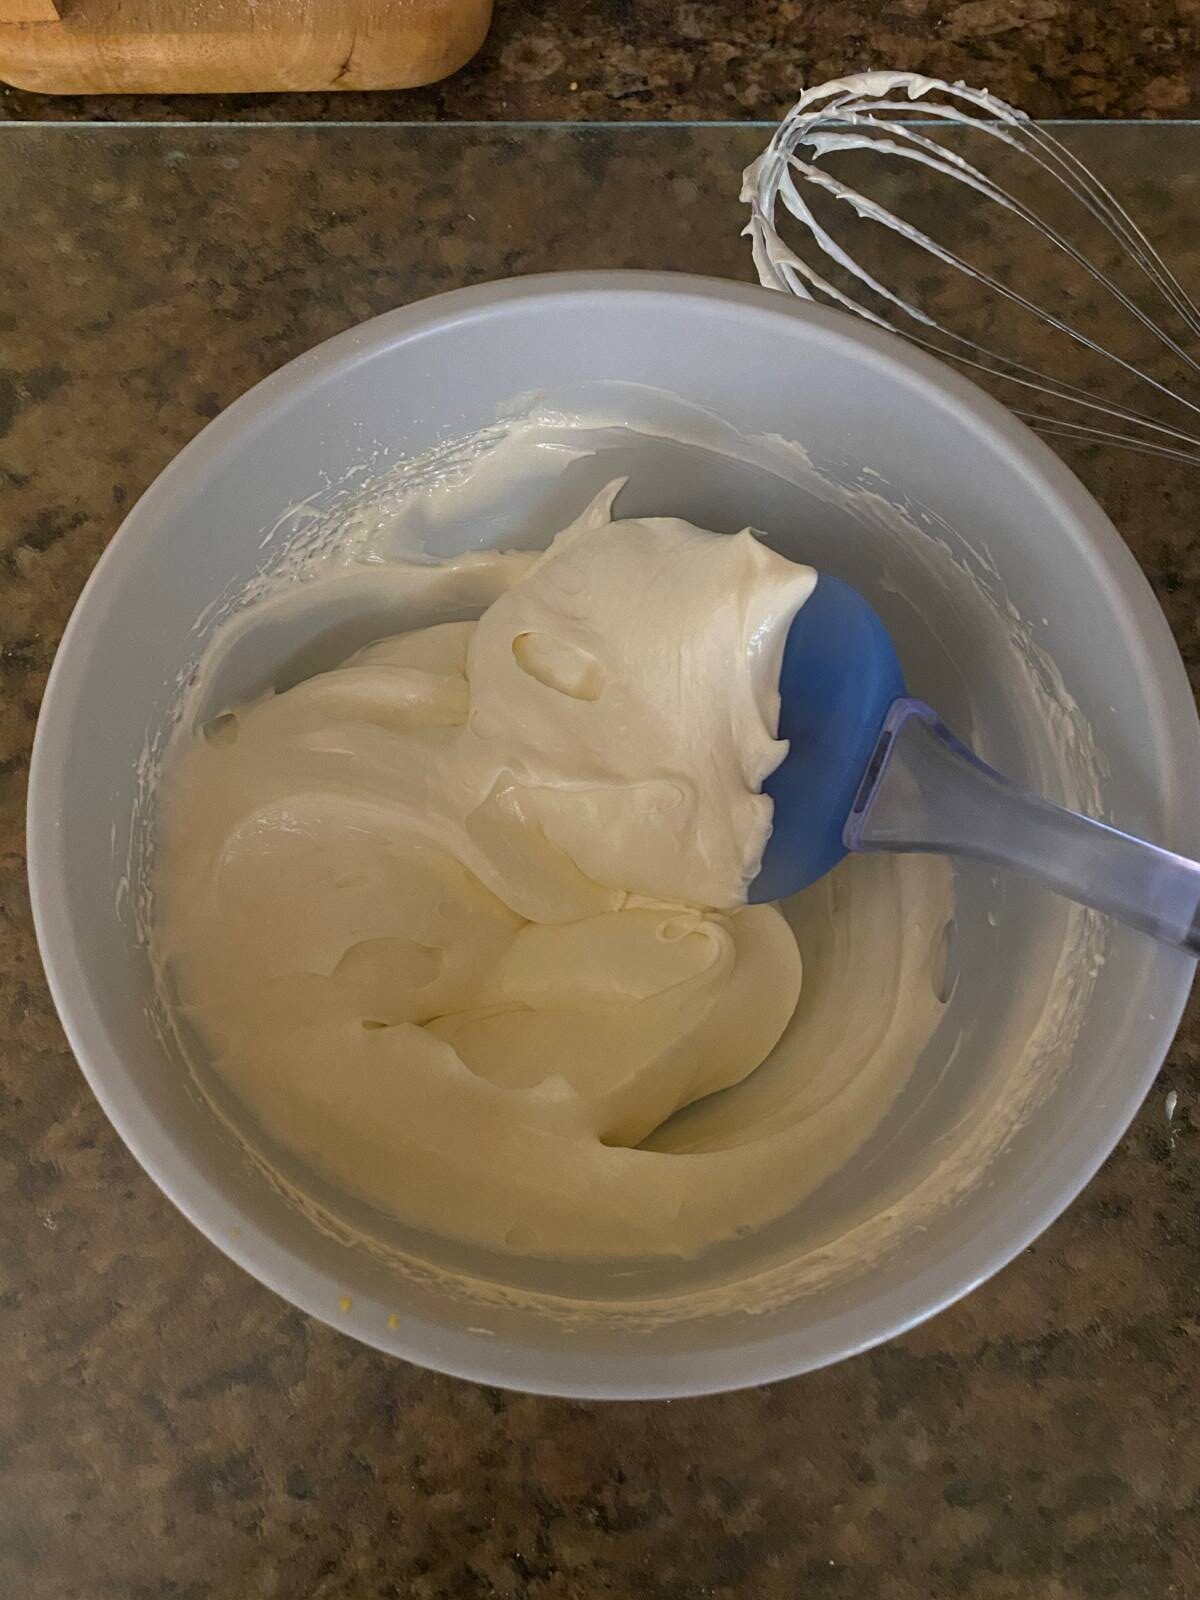
Combine the Dream Whip Mix with the milk, cream and pudding mix. Using an immersion blender or a hand mixer with a whisk attachment, whisk until light and fluffy and the cream holds it's shape. Refrigerate until you are ready to fill your pastries.
Remove the molds carefully from the puff pastry horns. (See tips)
Place your pastry cream in a pastry bag or a ziploc bag with a whole at the end.
Fill the center of the cream horns but don't fill them all the way just yet. Continue to fill the remaining cream horns then go back and use up the remaining cream.
Sprinkle with powdered sugar and place on a platter. Store in the fridge uncovered until ready to serve. Serve within 4 to 6 hours.
Tips
- Lay uncooked pastry horns with the seam faced down on a baking sheet to prevent them unrolling during baking.
- Remove molds from pastry while slightly warm to the touch. Remove the molds by twisting around gently and pulling them out while hold them at the top with your thumb and index finger joined together.
- Let pastry horns cool completely before filling with the pastry cream.
- Do not fully fill the pastry horns, fill all of them partially then go back and continue to fill each equally until you have used up all of the pastry cream.
How to Make Pastry Horn Molds at Home
It should come as no surprise that I made my own pastry horn molds from household ingredients and I don't regret it!
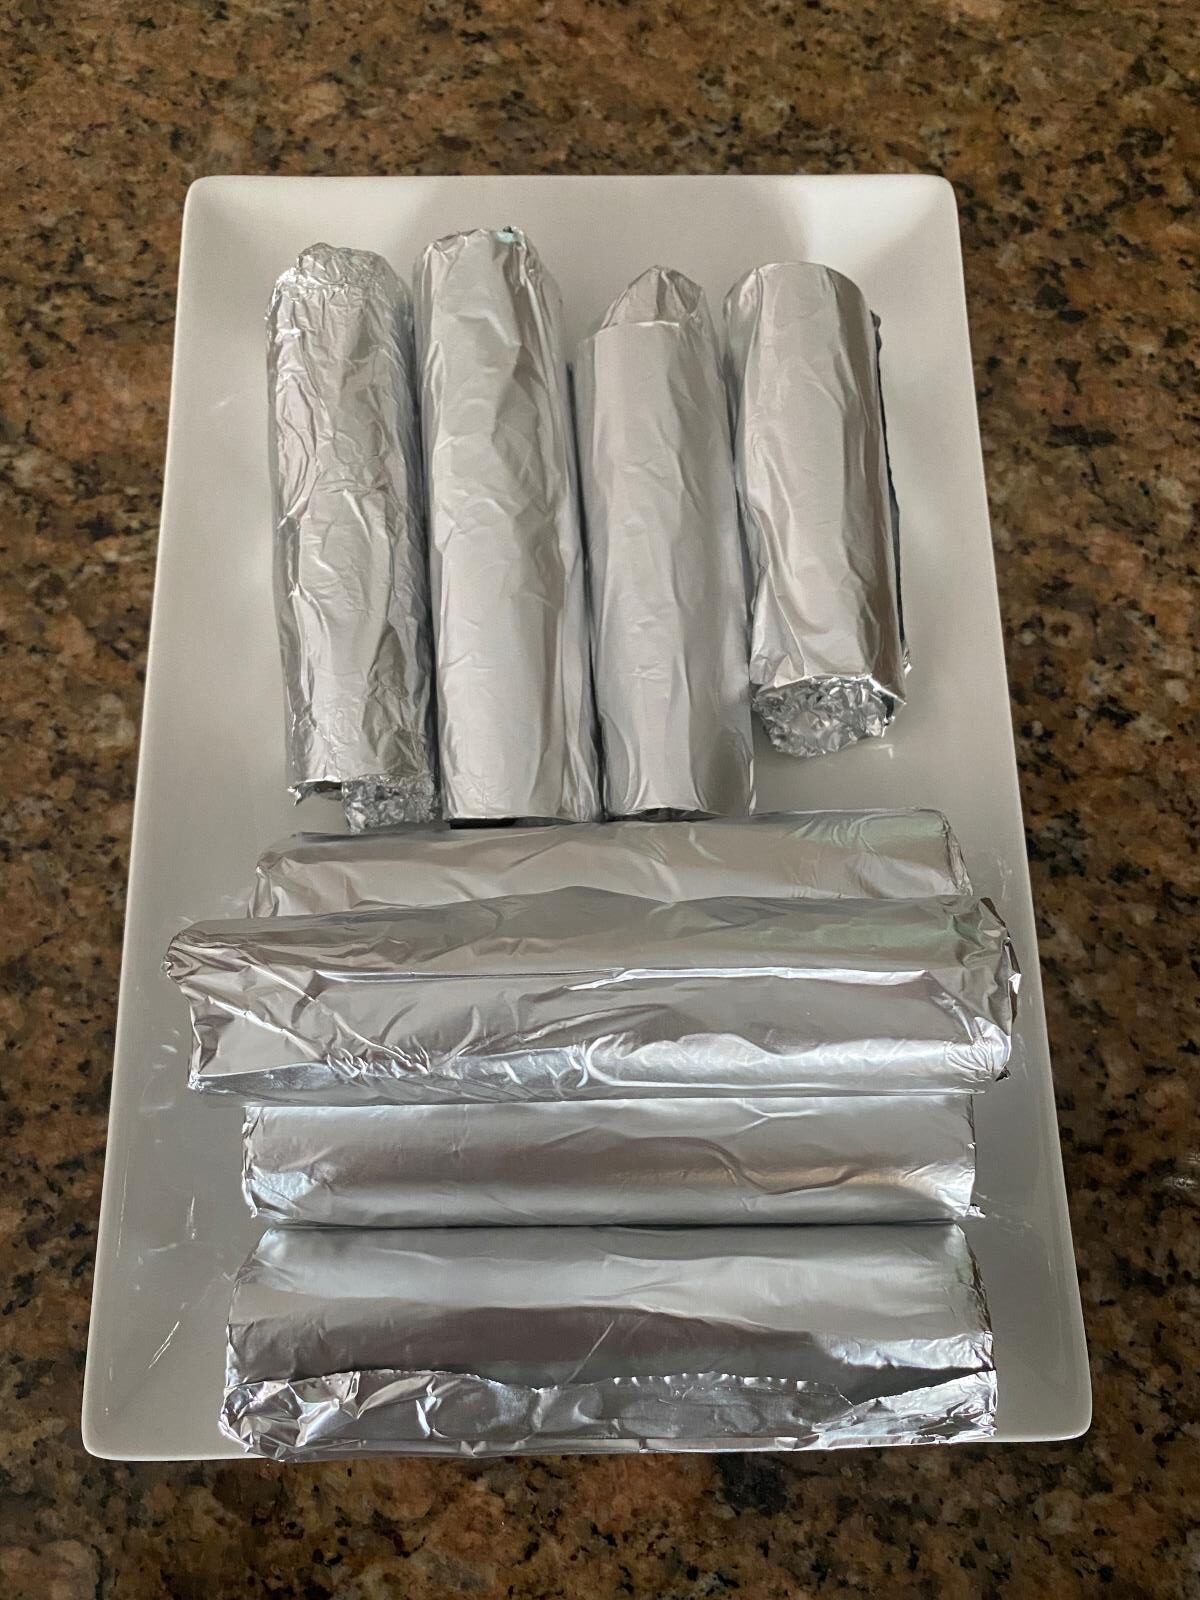
Here's how I made them:
- Save the paper rolls from paper towel rolls or toilet paper.
- Cut them to size if needed but keep them long enough so that they are at least ¾" longer than the pastry.
- Cut across the roll so that you can tighten the roll to squeeze it to a smaller diameter.
- Wrap aluminum foil, dull side up and exposed, around the roll squeezing as you cover it so that it's approximately 1" in diameter.
- Tuck the sides of the foil in the ends so that the roll doesn't expand.
Don't worry if they are not identical in diameter or in length, they'll still taste yummy!
Substitutions and Variations
Here are a few ideas on how you can make this dish different or fit a certain diet:
- You can flavor the cream with different essences, liqueurs, or citrus rinds.
- You can add fruit preserves or fresh fruit to the cream or inside the pastry.
- You can dip or drizzle the pastry with melted chocolate before or after filling.
- You can use cream cheese, butter, sugar, lemon juice, and vanilla extract to make a tangy and sweet filling.
- You can use Italian ricotta pastry cream for a richer and thicker filling.
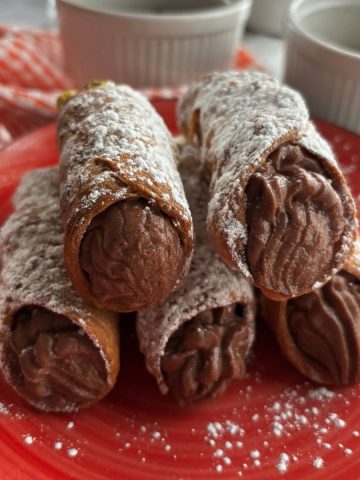
- You can add chocolate to your filling for a decadent filling flavor.
If you know how to make this recipe unique or suit your diet - go for it! Let me know what you did and how it turned out by leaving me a comment. I'd love to hear from you.
Equipment
Here are a few pieces of equipment that will come in handy when making these cream filled pastry horns: pizza cutter, baking sheet, pastry horn molds, immersion blender with whisk attachment, measuring cups and spoons.
This page contains affiliate links, which means I may receive commissions if you choose to purchase through links I provide (at no extra cost to you). Thank you for supporting the work I put into this site! As an Amazon Associate I earn from qualifying purchases.
Storage
Consume immediately or keep refrigerated uncovered for up to 6 hours. Store any uneaten servings in an airtight container. You may need to sprinkle more powdered sugar on top when serving after being refrigerated. Store covered for up to 2 days.
These ingredients don't stand up well to freezing.
FAQ
The cream in cream horns is made of a combination of whipped cream, sugar and vanilla extract. To make a cream that is stiff dessert topping in combination with a tablespoon of instant vanilla pudding is sometimes used.
Instead of cream horn molds, you can DIY horn molds by using toilet paper roll ends covered with aluminum foil.
Cannoli shells are fried and filled with a ricotta filling. Cream horns are baked instead of fried, and they have a lighter and flakier texture and filled with a light an airy vanilla cream.
Cream horns are made with puff pastry. You can either make your own puff pastry at home or you can purchase pre-made puff pastry dough at your local market. You'll find the puff pastry in the freezer section of your market.
More Delicious Desserts
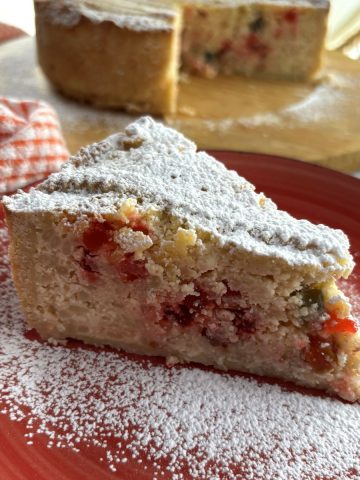
- Pastiera Napoletana - Traditional Italian Easter Wheat and Ricotta Pie
- Chocolate Ricotta Filling for Italian Cannoli - Smooth and Creamy
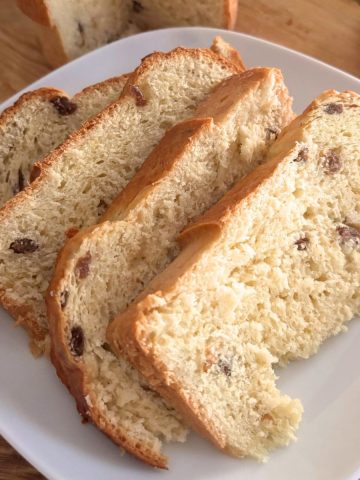
- Traditional Italian Classic Panettone Recipe
- Rustic Italian Apple Cake (Torta di Mele) Like Nonna Makes

Recipe Details
Cream Filled Pastry Horns Made with Puff Pastry
https://easyhomemaderecipes.caAffiliate Disclosure
This page contains affiliate links, which means I may receive commissions if you choose to purchase through links I provide (at no extra cost to you). Thank you for supporting the work I put into this site! As an Amazon Associate I earn from qualifying purchases.
Ingredients
- 150 g Puff Pastry 1 10 x 12" sheet, pre-made, frozen
- ½ cup Whole Milk
- ¼ cup Whipping Cream 35% full fat cream
- 2 tbsp Vanilla Pudding Mix powder
- 170 g KRAFT Dream Whip Dessert Topping Mix 1 packet
- 1 tbsp Vegetable Oil for greasing molds
- ¼ cup icing sugar to dust the pastries
Instructions
Making the Pastry
- Preheat oven to 400°F
- Thaw out your puff pastry as per manufacturer's instructions.
- Roll out the puff pastry on a floured surface to a size of approximately 12 x 10"
- Using a pizza cutter or knife cut into 6 portions
- Grease the pastry molds with butter.
- Using a wet paper towel, wet the first pastry sheet just to dampen it so that when you roll puff pastry around the mold it binds to each other.
- Roll the puff pastry around the mold and lay it on a baking sheet lined with parchment paper with the seam side down.
- Bake for 15 to 20 minutes until golden. Remove from oven and let cool completely.
Making the Cream
- Combine the Dream Whip Mix with the milk, cream and pudding mix. Using an immersion blender or a hand mixer with a whisk attachment, whisk until light and fluffy and the cream holds it's shape. Refrigerate until you are ready to fill your pastries.
Assembly
- Remove the molds carefully from the puff pastry horns. (See tips)
- Place your pastry cream in a pastry bag or a ziploc bag with a whole at the end.
- Fill the center of the cream horns but don't fill them all the way just yet. Continue to fill the remaining cream horns then go back and use up the remaining cream.
- Sprinkle with powdered sugar and place on a platter. Store in the fridge uncovered until ready to serve.
- Serve within 4 to 6 hours. Store any leftover in an airtight container for up to 2 days.
Notes
- Lay uncooked pastry horns with the seam faced down on a baking sheet to prevent them unrolling during baking.
- Remove molds from pastry while slightly warm to the touch. Remove the molds by twisting around gently and pulling them out while hold them at the top with your thumb and index finger joined together.
- Let pastry horns cool completely before filling with the pastry cream.
- Do not fully fill the pastry horns, fill all of them partially then go back and continue to fill each equally until you have used up all of the pastry cream.
Nutrition
Food Safety
Food Safety
Note that the storage guidelines provided on this page and site are estimates from personal experiences. We are all adults and as an adult you are responsible to ensure that the food you eat is safe to eat. Since, I'm not a food safety expert, you are responsible to review your local guidelines on food storage prior to storing any food left-overs.
Remember to:
- Not use the same utensils on cooked food, that previously touched raw meat
- Wash hands after touching raw meat
- Don't leave food sitting out at room temperature for extended periods
- Never leave cooking food unattended
- Use oils with high smoking point to avoid harmful compounds
- Always have good ventilation when using a gas stove
For Canadian Guidelines check the Government of Canada Food Safety Guidelines or see more guidelines at USDA.gov.
PIN It Here


Comments
No Comments